Wood putty is a versatile material often used to fill imperfections, cracks, or holes in wood surfaces, ensuring a smooth and polished finish. However, there may come a time when you need to remove the putty, whether to make adjustments, refinish the surface, or start a new project. Removing wood putty can be a straightforward process if approached correctly, and understanding the tools and techniques involved is key to achieving the best results without damaging the surrounding wood. This guide explores the key aspects of how to remove wood putty.
What is Wood Putty
Wood putty, also known as wood filler, is a pliable substance used to fill imperfections, cracks, and holes in wood surfaces. It is commonly made from a combination of wood dust, a binder, and other ingredients that provide it with flexibility and durability. Unlike spackle or other fillers, wood putty is specifically designed to adhere to wood and blend seamlessly with its texture and color. It is available in various shades to match different types of wood and can be sanded, stained, or painted to achieve a flawless finish. Wood putty is an essential tool for both professionals and DIY enthusiasts looking to repair or enhance the appearance of wooden surfaces.
When Should You Remove Wood Putty?
The timing for removing excess wood putty depends on the type of project and the specific product you are using. Generally, it is best to remove any excess putty while it is still pliable but after it has started to set slightly. If removed too quickly, the putty may not fill the imperfections effectively, while waiting too long can make the removal process more challenging. Most wood putties have recommended drying and curing times, so it’s crucial to follow the manufacturer’s instructions. For tasks like sanding or finishing, ensure the putty is thoroughly dried beforehand to prevent smudging or altering the wood’s surface.
Tools and Materials You’ll Need
To achieve the best results when working with wood putty, ensure you have the right tools and materials on hand. Here’s a list of essentials:
- Wood Putty: Choose a high-quality product suitable for the type of wood you’re working with.
- Putty Knife: A flexible knife is ideal for applying and smoothing the putty.
- Sanding Block or Sandpaper (various grits): Necessary for smoothing the surface after the putty dries.
- Clean Cloth or Rag: Useful for wiping away dust and excess material.
- Painter’s Tape (optional): Helps protect surrounding areas while working.
- Protective Gloves (optional): Keeps your hands clean during application.
- Wood Finish or Paint (optional): To match and seal the repaired surface once complete.
Having these tools and materials ready will make the process smoother and more efficient.
10 Methods How to Remove Wood Putty
1. Scrape Gently with a Putty Knife
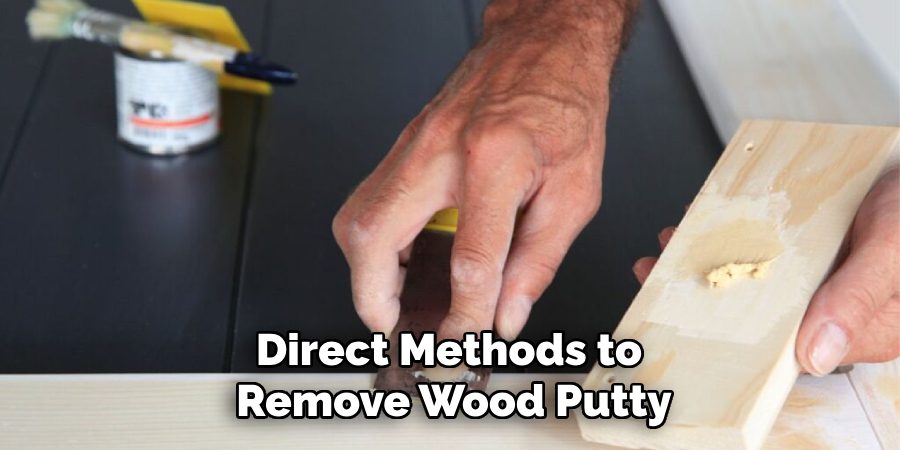
One of the most direct methods to remove wood putty is to use a putty knife or scraper. Opt for a tool with a flexible yet firm blade and gently press it under the putty. If the putty is old and brittle, it may chip off with minimal pressure. Always scrape in the direction of the wood grain to reduce the risk of gouging or splintering the surface. If the putty is stubborn, try scoring the area lightly with a utility knife before applying pressure. This method is particularly effective on hardened exterior putty and excess filler that sits on the wood’s surface.
2. Use Sandpaper or a Sanding Block
Sanding is another dependable way to remove wood putty, especially if the area has been smoothed over or sealed. Start with a medium grit sandpaper (around 80 to 100 grit) and gently sand down the area. Use a sanding block to maintain even pressure, or a power sander for large surfaces. Always sand with the grain and check progress frequently to avoid removing too much of the surrounding wood. Once the bulk of the putty is gone, switch to finer grit sandpaper (120 to 150 grit) to feather the edges and blend the repair into the natural surface.
3. Apply Heat with a Hair Dryer or Heat Gun
If the putty is particularly stubborn or has been sealed with a clear finish, applying heat can help soften it. Using a hair dryer or heat gun on a low setting, direct warm air at the wood putty for several seconds. The heat softens the putty, making it easier to scrape away with a putty knife or utility blade. Be cautious not to overheat the wood or the finish, as this could cause damage. This method works well on oil-based putties that have hardened over time and is particularly useful when dealing with putty embedded in fine details.
4. Use a Solvent or Mineral Spirits
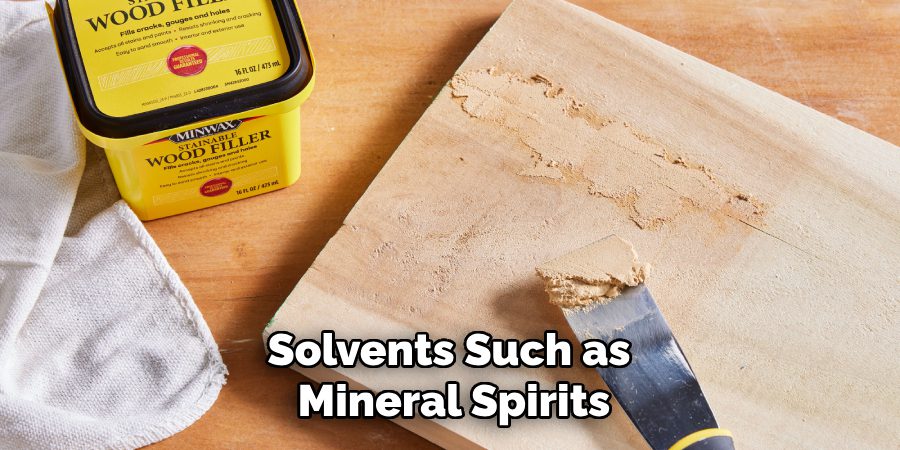
Solvents such as mineral spirits or acetone can dissolve oil-based wood putties and assist in their removal. Dampen a cloth or cotton swab with the solvent and dab it onto the putty, allowing it to soak for several minutes. The softened putty can then be wiped away or scraped off gently. Always test the solvent in an inconspicuous area first to ensure it does not damage the wood finish. Use this method in a well-ventilated area and wear gloves to protect your skin. Solvents are highly effective on stained or painted surfaces where sanding may not be ideal.
5. Use a Rotary Tool for Precision Work
For tight spaces, corners, or ornate trim, a rotary tool equipped with a small sanding drum or grinding bit offers excellent precision. These tools allow you to remove wood putty without disturbing the adjacent areas too much. Begin with a light touch and work slowly, checking progress frequently. This method is best for intricate woodwork or cabinetry where traditional tools may not reach. Ensure the rotary tool is set to a low or medium speed to prevent burn marks or gouges.
6. Try a Chisel for Thick or Dried Putty
In cases where the wood putty has been applied heavily or has hardened into thick lumps, a sharp chisel can be an effective removal tool. Hold the chisel at a shallow angle and gently tap it with a mallet to lift the putty. Be cautious to avoid driving the chisel too deep, which can scar the wood. This method is best used on raw or unfinished wood surfaces where minor surface corrections can be sanded out afterward. Always follow up with sanding to remove residual putty and smooth the surface.
7. Use a Dulling Agent or Paint Stripper
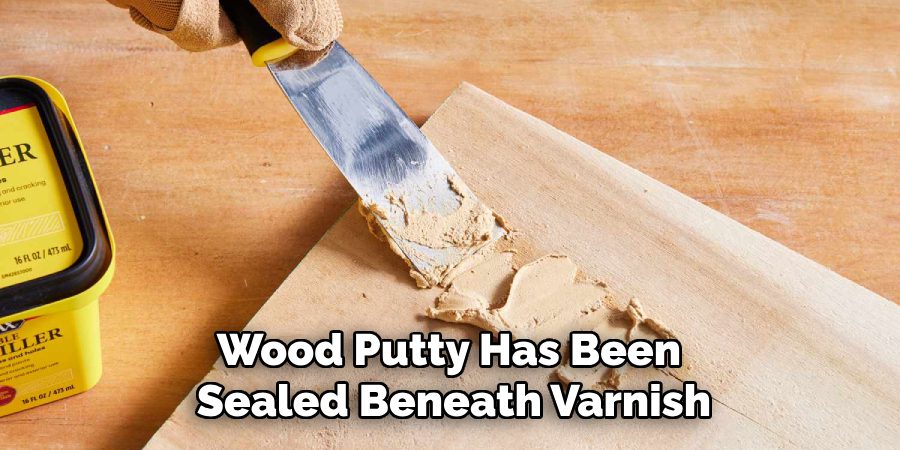
If the wood puttyfbeneath varnish, lacquer, or paint, a paint stripper can help expose and dissolve it. Apply a small amount of a gel-based or non-drip paint stripper to the affected area using a brush. Allow it to sit according to the manufacturer’s instructions, then scrape off the softened layers with a plastic putty knife. Once the finish is removed, you’ll often find the putty easier to extract with sandpaper or a scraper. This method is ideal for refinishing antique furniture or restoring wood that has multiple layers of finish.
8. Wet Sand for Delicate Finishes
In scenarios where the surrounding wood or finish is sensitive, such as with veneers or antique wood, wet sanding offers a gentler approach. Use a fine-grit wet/dry sandpaper (such as 220 grit) and a small amount of water to lubricate the surface. Lightly sand the putty area, keeping the surface damp to reduce friction. The moisture softens the putty and prevents heat buildup, minimizing the risk of surface damage. This method is particularly useful for touch-up work and fine detailing around inlays or decorative trim.
9. Use a Screwdriver for Crevices
Wood putty often lodges into small cracks, corners, or screw holes. A flat-head screwdriver or a similarly shaped tool can be used to dig into these crevices gently. Use a light hand and angle the tip to lift the putty without prying into the surrounding wood. This technique is helpful when refinishing furniture or removing putty from joints and seams. Follow up with a light sanding sponge to smooth the surface once the majority of the putty has been removed.
10. Rehydrate the Putty with Water (for Water-Based Types)
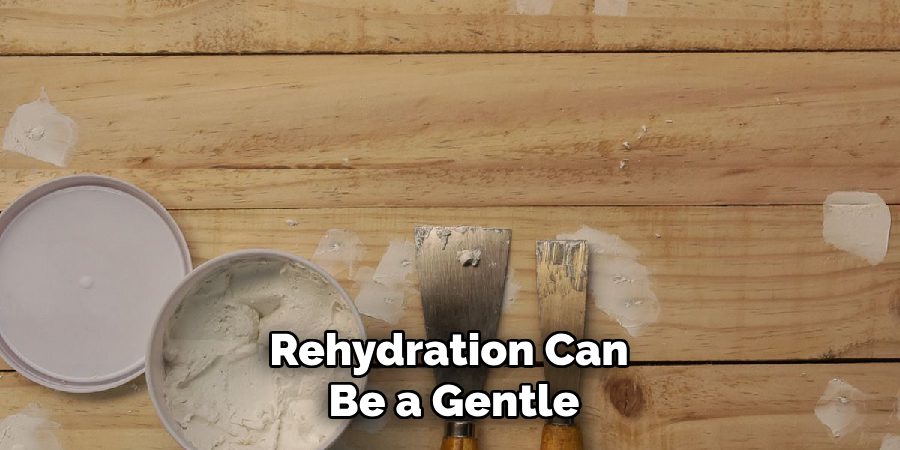
For water-based wood putty, rehydration can be a gentle and effective removal method. Dampen a cloth with warm water and place it over the putty for 10 to 15 minutes. The moisture will soften the putty, allowing you to scrape or wipe it away with minimal effort. This technique is best suited for recent applications of water-based putty and should be avoided on sealed or waxed wood, which may be affected by moisture. This method is especially valuable when trying to reverse a patch job or make corrections soon after application.
Conclusion
Removing wood putty doesn’t have to be a frustrating or destructive process. With the right tools and techniques tailored to the type of putty and surface involved, you can restore your woodwork with precision and care. Whether you’re sanding, scraping, applying heat, or using solvents, each method offers unique advantages for specific scenarios. Thanks for reading our blog post on how to remove wood putty! We hope you found it helpful and informative.
About
Team Woodlix is a distinguished figure in the world of Diy design, with a decade of expertise creating innovative and sustainable Diy solutions. His professional focus lies in merging traditional craftsmanship with modern manufacturing techniques, fostering designs that are both practical and environmentally conscious. As the author of diy, Woodlix delves into the art and science of furniture-making, inspiring artisans and industry professionals alike.
Education RMIT University
(Melbourne, Australia) Associate Degree in Design (Team Woodlix) Focus on sustainable design, industry-driven projects, and practical craftsmanship. Gained hands-on experience with traditional and digital manufacturing tools, such as CAD and CNC software.
Nottingham Trent University
(United Kingdom) Bachelor’s in diyfastly.com and Product Design (Honors) Specialized in product design with a focus on blending creativity with production techniques. Participated in industry projects, working with companies like John Lewis and Vitsoe to gain real-world insights.
Publications and Impact
In diy, Team Woodlix his insights on indoor design processes, materials, and strategies for efficient production. His writing bridges the gap between artisan knowledge and modern industry needs, making it a must-read for both budding designers and seasoned professionals.
