A wood splinter can be a painful and frustrating experience, especially if it’s lodged deep in the skin. Splinters are small, sharp fragments of wood that can easily penetrate the surface of the skin, typically during activities like woodworking or gardening. Knowing how to safely and effectively remove a splinter is essential to prevent infection and minimize discomfort. This guide will walk you through steps of how to remove wood splinter.
What is a Wood Splinter?
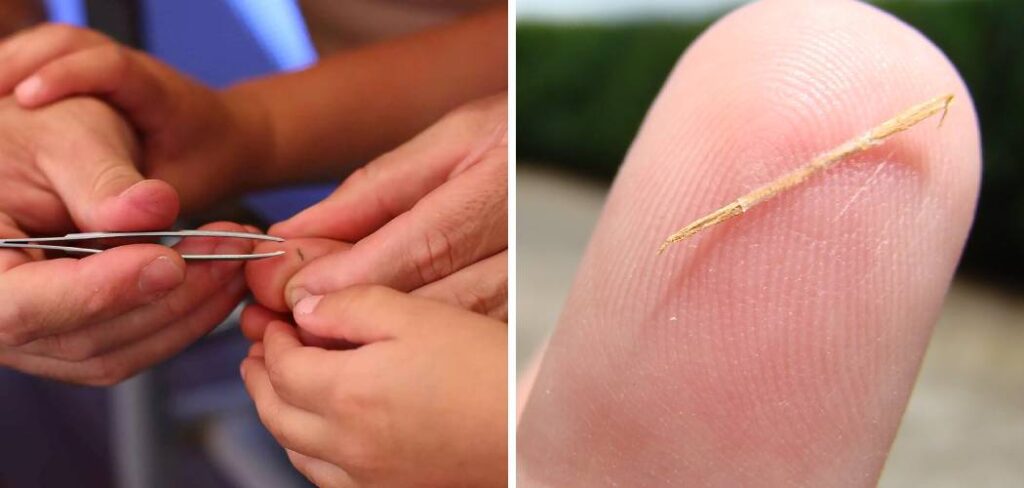
A wood splinter is a tiny piece of wood that breaks off from a larger object and becomes embedded in the skin. Splinters can vary in size and shape, ranging from small, almost invisible fragments to larger, more noticeable pieces. They often occur from direct contact with rough or unfinished wood surfaces, such as while handling lumber, furniture, or tree branches. Splinters can cause discomfort, redness, swelling, or even infection if not removed promptly and properly. Understanding the nature of splinters helps in identifying and addressing them effectively.
Materials and Tools Needed
To safely and effectively remove a splinter, you will need the following materials and tools:
- Tweezers (preferably fine-tipped for precision)
- A needle or pin (sterilized, if needed)
- Antiseptic solution or rubbing alcohol
- Soap and water for cleaning the area
- A magnifying glass (optional, for locating small splinters)
- Adhesive bandage or sterile gauze
- Antibiotic ointment (to prevent infection)
Gathering these materials beforehand ensures you are prepared to handle the situation promptly and minimize discomfort or complications.
Preparing for Splinter Removal
Before beginning the process of removing a splinter, it is essential to thoroughly clean the affected area to reduce the risk of infection. Start by washing your hands with soap and water to ensure they are free of dirt and bacteria. Next, clean the area around the splinter gently with soap and warm water, patting it dry with a clean towel. Lay out all the tools and materials you gathered on a clean surface within easy reach. If you are using a needle or pin, sterilize it by holding it over a flame for a few seconds or wiping it with rubbing alcohol. This preparation step ensures a smoother splinter removal process while minimizing discomfort and potential complications.
10 Methods How to Remove Wood Splinter
1. Assessing the Splinter and Preparing the Area
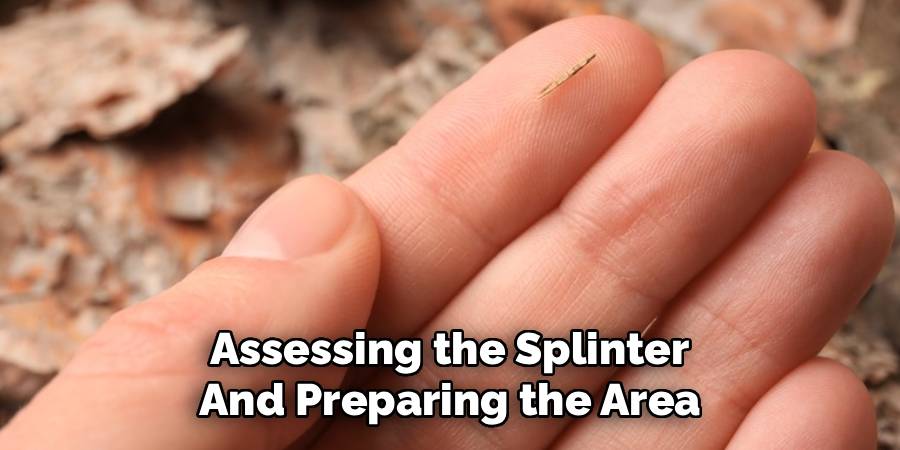
The first step is to carefully examine the splinter. Determine its size, depth, and angle of entry. Clean the affected area with warm water and mild soap to remove dirt and debris. Proper assessment helps determine the safest and most effective method for removal. Preparing a clean work area and washing your hands thoroughly reduces the risk of infection during the process.
2. Using Tweezers for Superficial Splinters
Tweezers are ideal for splinters that protrude from the skin. Sterilize the tweezers with rubbing alcohol or boiling water before use. Gently grasp the exposed end of the splinter and pull it out in the same direction it entered. Avoid squeezing the surrounding skin, as this can break the splinter and make removal more difficult. Tweezers are a straightforward and effective method for superficial splinters that are visible and easily accessible.
3. Using a Needle for Embedded Splinters
For splinters embedded beneath the skin, a sterilized needle can be used to expose the end of the splinter. Clean the needle with alcohol and gently lift the skin over the splinter without pushing it deeper. Once the splinter tip is visible, use tweezers to pull it out carefully. This method requires steady hands and patience but is highly effective for deeper splinters that cannot be grasped directly.
4. Soaking the Area in Warm Water
Soaking the affected area in warm water can soften the skin and make the splinter easier to remove. Fill a bowl with warm water and soak the affected finger, hand, or foot for 10–15 minutes. Softened skin allows the splinter to protrude slightly, reducing resistance and pain during extraction. This method is particularly helpful for children or sensitive areas where direct manipulation may cause discomfort.
5. Applying Adhesive Tape
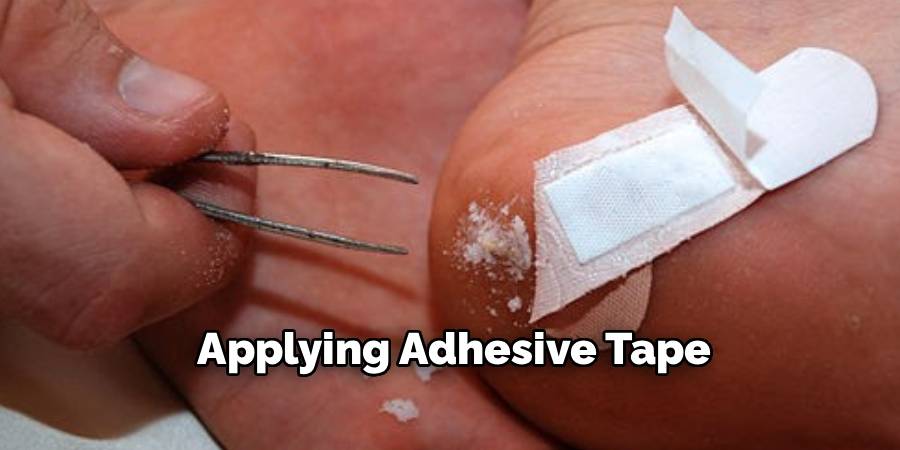
Adhesive tape can help remove small, superficial splinters without using needles or tweezers. Clean and dry the area, then press a piece of tape firmly over the splinter. Slowly pull the tape off in the direction of the splinter’s entry. This method is gentle and often effective for thin or shallow splinters, especially in children or individuals with sensitive skin. Repeat if necessary, using fresh tape each time.
6. Using Baking Soda Paste for Deep Splinters
Baking soda can be used to help draw out deeper splinters. Mix a small amount of baking soda with water to form a thick paste and apply it to the affected area. Cover it with a bandage and leave it on for several hours or overnight. The paste can cause the skin to swell slightly, pushing the splinter closer to the surface for easier removal. After removing the bandage, the splinter often becomes visible and can be extracted with tweezers.
7. Sterilization and Hygiene Precautions
Regardless of the method used, maintaining hygiene is essential to prevent infection. Sterilize tweezers, needles, and scissors before use with rubbing alcohol or by boiling. Wash your hands thoroughly and clean the area around the splinter with mild soap. Avoid touching the wound with unwashed hands. Proper sterilization reduces the risk of introducing bacteria during splinter removal.
8. Disinfecting and Protecting After Removal
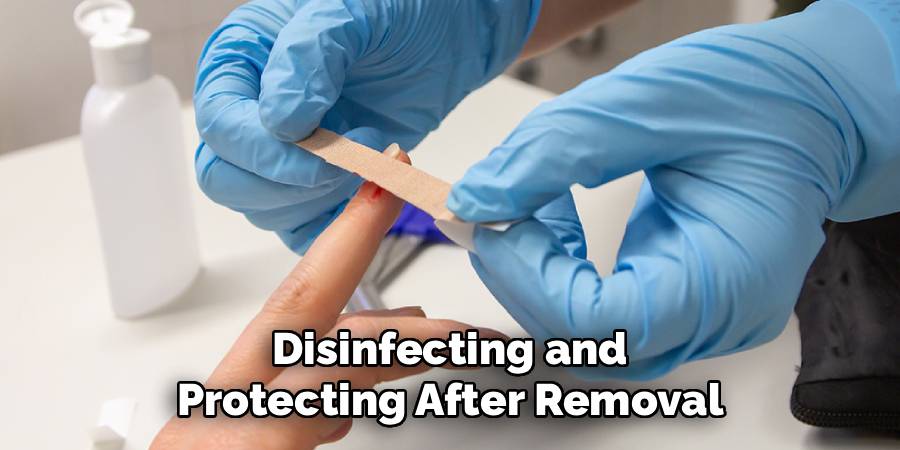
Once the splinter is removed, disinfect the area with an antiseptic solution such as iodine or alcohol. Apply a thin layer of antibiotic ointment to prevent infection. Cover the wound with a clean adhesive bandage or sterile gauze. Keeping the area protected and clean supports healing and minimizes irritation or contamination. Proper post-removal care is critical for avoiding complications such as infection or scarring.
9. Pain Management and Monitoring
Splinter removal can cause discomfort, and pain may persist briefly after extraction. Over-the-counter pain relievers such as acetaminophen or ibuprofen can be used if needed. Monitor the area for signs of infection, including redness, swelling, pus, or increasing pain. If any symptoms appear, seek medical advice promptly. Managing pain and monitoring the wound ensures that minor splinter injuries heal properly without complications.
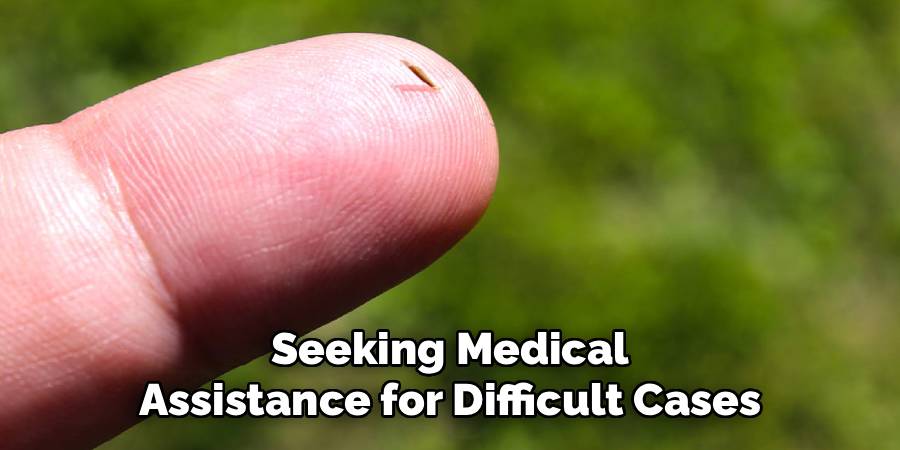
10. Seeking Medical Assistance for Difficult Cases
Some splinters are challenging to remove due to depth, location, or size, and may require professional medical attention. Splinters near sensitive areas such as under the nail, inside joints, or close to tendons should be addressed by a healthcare provider. Doctors can use specialized tools to remove the splinter safely, minimizing the risk of infection or tissue damage. Professional care ensures proper treatment when home methods are insufficient or risky.
Safety Considerations
When dealing with a splinter, maintaining proper hygiene is essential to prevent infections. Always wash your hands and the affected area thoroughly with soap and water before attempting removal. Sterilize any instruments, such as tweezers or needles, with rubbing alcohol to minimize the risk of introducing bacteria. Avoid excessive pressure or digging too deeply, as this can push the splinter further in or cause unnecessary tissue damage. If signs of infection, such as redness, swelling, or pus, develop, seek medical assistance promptly. Following these safety precautions can help ensure a smooth and safe removal process.
Things to Consider When Removing a Splinter
- Location of the Splinter: Assess where the splinter is lodged. Splinters in sensitive areas, such as near the eyes or under the nails, may require professional assistance.
- Size and Depth: Determine how deep or large the splinter is, as this can impact the removal method. Larger or deeply embedded splinters may require extra care or medical tools.
- Proper Lighting: Work in a well-lit area to clearly see the splinter and surrounding skin, reducing the risk of improper removal.
- Sanitization: Always ensure your hands, tools, and the affected area are properly sanitized to prevent infection.
- Follow-Up Care: After removal, clean and bandage the area to promote healing and monitor for any signs of infection.
Being mindful of these factors will help ensure a safe and effective splinter removal experience.
Common Mistakes to Avoid
When removing a splinter, it’s essential to avoid certain common errors that can lead to further complications. Here are some mistakes to look out for:
- Using Dirty Tools: Attempting to remove a splinter with unsanitized tools can introduce bacteria into the wound, increasing the risk of infection.
- Applying Excessive Force: Using too much pressure may push the splinter deeper into the skin, making it more difficult to remove or causing additional damage.
- Ignoring Small Splinters: Even tiny splinters can lead to irritation and infection if left untreated, so it’s important to address them promptly.
- Skipping Cleaning Steps: Failing to clean the area before and after removal can result in contamination and slow the healing process.
- Pulling at the Wrong Angle: Removing a splinter incorrectly, such as pulling at an angle opposite to its entry, can break the splinter, leaving fragments behind.
By avoiding these mistakes, you can ensure a more effective and safer splinter removal process.
Conclusion
Wood splinters, while common, should be handled with care to prevent pain, infection, or further complications. By following these ten methods—from assessment, soaking, and extraction with tweezers or needles to hygiene, pain management, and professional intervention—you can safely remove splinters and promote proper healing. Now that you know how to remove wood splinter, try it yourself today and feel good about completing such a big DIY job!
About
Team Woodlix is a distinguished figure in the world of Diy design, with a decade of expertise creating innovative and sustainable Diy solutions. His professional focus lies in merging traditional craftsmanship with modern manufacturing techniques, fostering designs that are both practical and environmentally conscious. As the author of diy, Woodlix delves into the art and science of furniture-making, inspiring artisans and industry professionals alike.
Education RMIT University
(Melbourne, Australia) Associate Degree in Design (Team Woodlix) Focus on sustainable design, industry-driven projects, and practical craftsmanship. Gained hands-on experience with traditional and digital manufacturing tools, such as CAD and CNC software.
Nottingham Trent University
(United Kingdom) Bachelor’s in diyfastly.com and Product Design (Honors) Specialized in product design with a focus on blending creativity with production techniques. Participated in industry projects, working with companies like John Lewis and Vitsoe to gain real-world insights.
Publications and Impact
In diy, Team Woodlix his insights on indoor design processes, materials, and strategies for efficient production. His writing bridges the gap between artisan knowledge and modern industry needs, making it a must-read for both budding designers and seasoned professionals.
