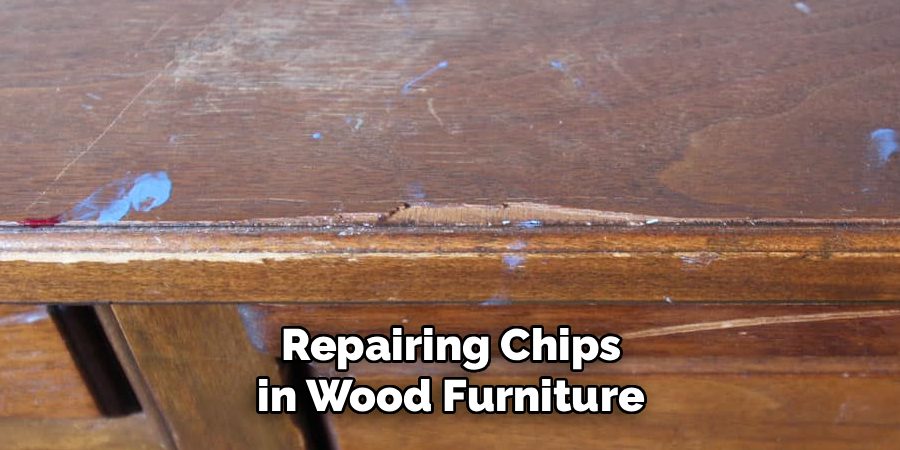
Wood furniture can add warmth and charm to any space, but over time, chips and dents may start to appear, diminishing its appeal. Repairing these imperfections may seem daunting, but it is often a straightforward process that can restore your furniture to its former glory.
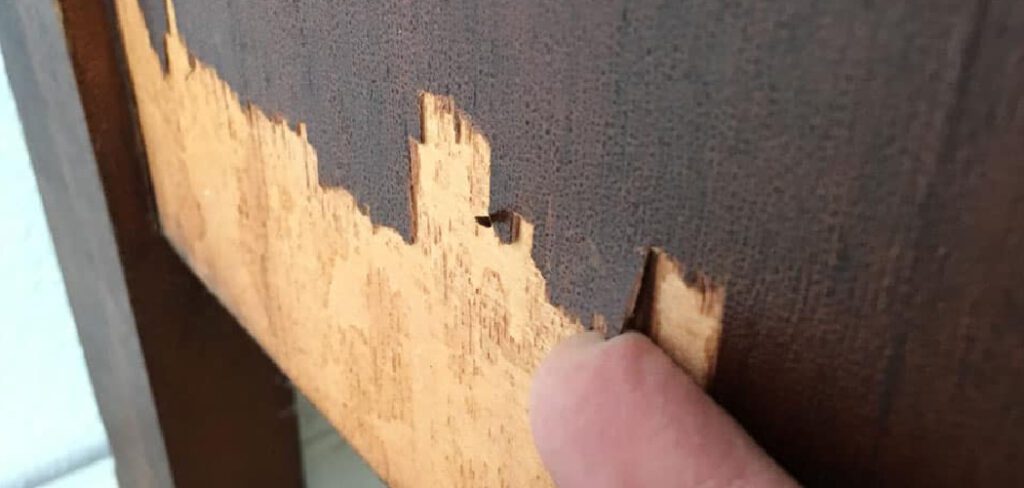
With the right tools and techniques, you can effectively repair wood chips, preserving the beauty and longevity of your cherished pieces. In this blog post, we’ll walk you through the steps on how to repair wood chips in furniture so that you can get back to using it in no time! So grab your tools, and let’s get started!
Why Repair Wood Chips in Furniture
Repairing wood chips in furniture is important for several reasons. First and foremost, it helps maintain the structural integrity of the piece, ensuring that it remains sturdy and functional for years to come. Unrepaired chips can worsen over time, potentially leading to larger cracks or damage that may be more difficult or costly to fix.
Additionally, repairing wood chips restores the aesthetic appeal of your furniture, allowing it to blend seamlessly with your home décor. Well-maintained furniture also retains its value, making repairs a worthwhile investment, particularly for heirloom or high-quality pieces. Finally, choosing to repair rather than replace furniture is a more sustainable option, reducing waste and contributing to a more eco-friendly lifestyle.
Tools and Materials You’ll Need
To effectively repair wood chips, it’s important to have the right tools and materials on hand. Here’s a list of essentials you’ll need:
- Wood Filler or Putty: Used to fill in chipped or damaged areas. Choose a filler that closely matches the color of your furniture.
- Putty Knife: Helps evenly apply the wood filler and smooth out the surface.
- Sandpaper (Various Grits): Required for smoothing out the repaired area and blending it with the surrounding wood.
- Wood Stain or Paint: For restoring the color and finish of the repaired area to match the rest of the piece.
- Clean Cloth or Paper Towels: To wipe away excess material and ensure a clean working surface.
- Protective Gloves and Mask: Essential for safety when handling chemicals like stains or fillers.
- Fine Paintbrush or Stain Applicator: For precise application when touching up the repaired area.
Having these tools and materials prepared will help make the repair process smooth and effective, ensuring that your furniture looks as good as new.
10 Methods How to Repair Wood Chips in Furniture
Method 1: Using Wood Filler for Small Chips
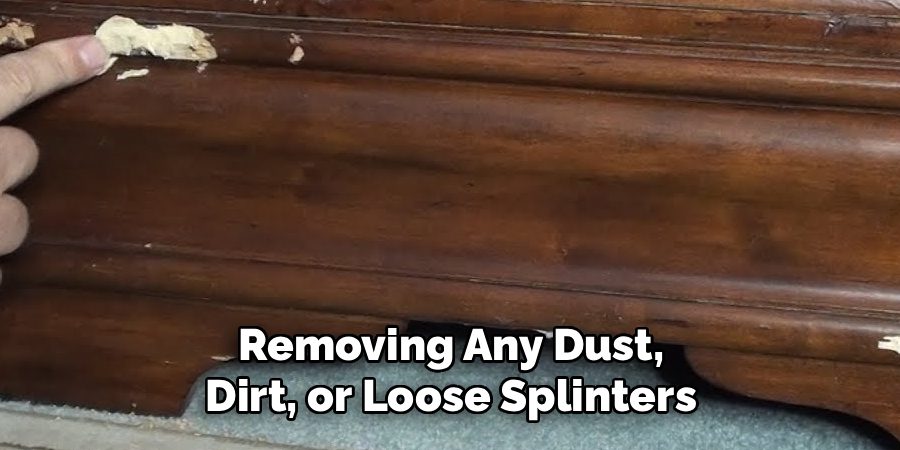
One of the simplest ways to repair small wood chips in furniture is to use a high-quality wood filler. Begin by cleaning the chipped area thoroughly, removing any dust, dirt, or loose splinters. Once the surface is prepared, apply the wood filler using a putty knife, pressing it firmly into the chip to ensure full coverage. Smooth the filler until it is level with the surrounding wood, then allow it to dry completely. After drying, sand the area with fine-grit sandpaper until it blends seamlessly into the original surface. Finally, stain or paint the repair to match the existing finish. This method works particularly well for chips in tabletops, chair legs, or cabinet edges.
Method 2: Using Wood Putty for Surface-Level Repairs
Wood putty is another practical option for filling chips, especially on finished furniture surfaces. Unlike wood filler, which is typically used before staining, wood putty can be applied directly over stained or painted furniture. To repair the chip, simply choose a wood putty color that matches your furniture’s finish. Apply it with a small putty knife, making sure to fill the chipped area thoroughly. Smooth out the surface and wipe away any excess with a damp cloth. Because putty does not harden as rigidly as filler, it is ideal for cosmetic repairs where the chip does not affect the structural integrity of the piece.
Method 3: Repairing with Wax Filler Sticks
Wax filler sticks are excellent for repairing chips in furniture that already has a polished or stained finish. These sticks come in various wood tones, allowing you to select one that matches your furniture. To repair, soften the wax slightly by rubbing it between your fingers, then press it into the chipped area. Use a plastic scraper or credit card to smooth the surface and remove excess wax. Buff the area gently with a soft cloth to blend the repair with the surrounding finish. Wax filler sticks are particularly useful for quick fixes on desks, dressers, or wooden cabinets where appearance is a priority.
Method 4: Using Wood Veneer Patches
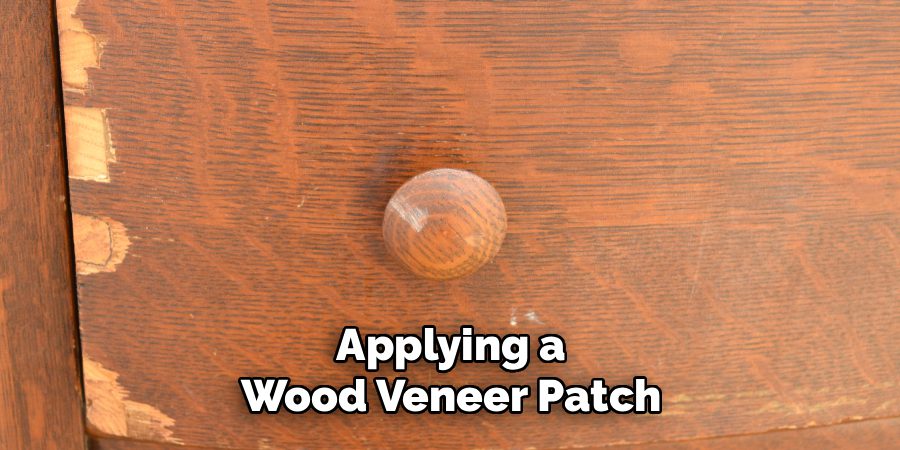
For larger chips where a filler may not suffice, applying a wood veneer patch can provide a durable and visually appealing repair. First, clean and sand the chipped area to create a smooth surface. Cut a piece of matching wood veneer slightly larger than the damaged area. Apply wood glue to both the veneer and the chipped section, then press the veneer in place firmly. Clamp the patch until the glue dries completely. Once secured, trim the edges with a sharp utility knife and sand lightly to blend the repair. Finish with stain or varnish to match the rest of the furniture.
Method 5: Repairing with Epoxy Putty
Epoxy putty is a strong and versatile option for repairing deep or large wood chips. Begin by mixing the two-part epoxy putty according to the manufacturer’s instructions until it reaches a uniform color. Press the putty into the chipped area, molding it to the shape of the surrounding wood. Use a putty knife to smooth the surface as much as possible before it hardens. Once cured, epoxy putty forms a rock-hard surface that can be sanded, drilled, or painted. This makes it an excellent choice for structural repairs on chair arms, table edges, or bed frames.
Method 6: Gluing Back Broken Chips
If the chipped piece of wood is still intact and can be recovered, reattaching it with wood glue is the most natural repair method. Clean both the chipped piece and the damaged area to remove dirt or old adhesive. Apply a small amount of high-quality wood glue to the chip and carefully fit it back into place. Hold it firmly for several minutes or use clamps to secure it while it dries. Once dry, sand lightly to remove any excess glue and touch up the finish to restore the furniture’s original appearance. This method is highly effective when the chip fits back snugly without gaps.
Method 7: Blending Chips with Stain Markers
For very small chips or shallow imperfections, wood stain markers provide a fast and convenient solution. These markers are available in a variety of shades to match common wood finishes. Simply clean the chipped area and apply the stain marker directly onto the exposed wood. Allow the stain to absorb for a few seconds, then wipe away the excess with a cloth. Repeat the application until the chip blends in with the surrounding surface. Although this method does not restore depth to the chip, it conceals the flaw effectively, making it nearly invisible from a distance.
Method 8: Using Colored Shellac Sticks
Colored shellac sticks, also known as burn-in sticks, are another professional solution for repairing chips in wood furniture. This method requires heating the shellac stick with a burn-in knife or similar tool until it softens. Once pliable, the shellac is pressed into the chip and smoothed with the heated knife. After cooling, the repair can be sanded lightly and polished to match the surrounding surface. This method provides a durable and polished repair, making it suitable for high-end furniture where appearance is crucial. It requires some practice but yields excellent results.
Method 9: Filling with Sawdust and Glue Mixture
For a custom-colored filler, you can create a mixture of sawdust and wood glue to repair chips. Collect fine sawdust from the same type of wood as your furniture, then mix it with wood glue until it forms a thick paste. Apply this paste into the chipped area using a putty knife, pressing it firmly to ensure good adhesion. Smooth the surface and allow it to dry thoroughly. Once hardened, sand it down to level the repair and stain it to match the surrounding wood. This method is particularly effective for unfinished wood furniture, as it creates a seamless color match.
Method 10: Professional Refinishing for Severe Chips
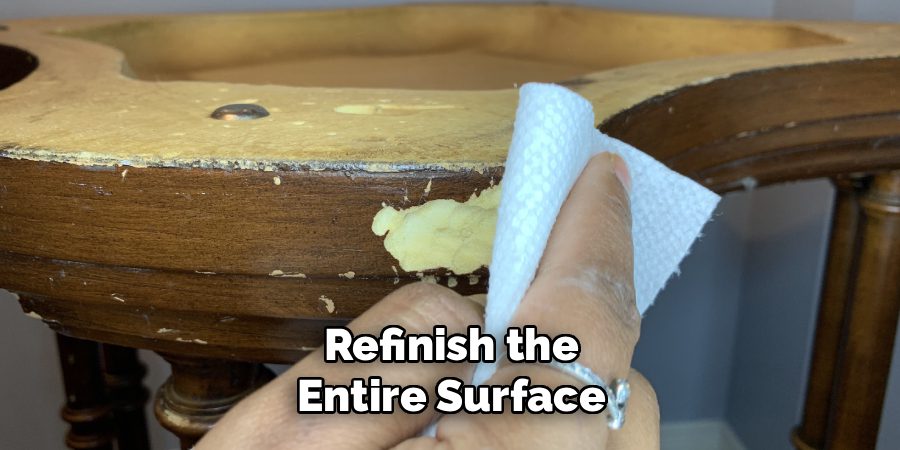
When chips are extensive or the furniture piece is valuable, professional refinishing may be the best solution. A skilled furniture restorer can strip the old finish, fill or patch the chips, and refinish the entire surface to restore it to its original beauty. This method ensures that repairs are not only structurally sound but also aesthetically pleasing. While it may be more time-consuming and costly, it is often worth the investment for antique or high-quality wooden furniture pieces. Professional refinishing also provides long-term durability, preventing future chips from worsening.
Conclusion
Repairing wood chips in furniture can range from simple DIY fixes to professional-level restoration, depending on the severity of the damage. Small chips can often be repaired using wood filler, putty, wax sticks, or stain markers, while larger or deeper chips may require epoxy, veneer patches, or sawdust-based fillers. Thanks for reading this blog post on how to repair wood chips in furniture! We hope you found it helpful and informative.
About
Team Woodlix is a distinguished figure in the world of Diy design, with a decade of expertise creating innovative and sustainable Diy solutions. His professional focus lies in merging traditional craftsmanship with modern manufacturing techniques, fostering designs that are both practical and environmentally conscious. As the author of diy, Woodlix delves into the art and science of furniture-making, inspiring artisans and industry professionals alike.
Education RMIT University
(Melbourne, Australia) Associate Degree in Design (Team Woodlix) Focus on sustainable design, industry-driven projects, and practical craftsmanship. Gained hands-on experience with traditional and digital manufacturing tools, such as CAD and CNC software.
Nottingham Trent University
(United Kingdom) Bachelor’s in diyfastly.com and Product Design (Honors) Specialized in product design with a focus on blending creativity with production techniques. Participated in industry projects, working with companies like John Lewis and Vitsoe to gain real-world insights.
Publications and Impact
In diy, Team Woodlix his insights on indoor design processes, materials, and strategies for efficient production. His writing bridges the gap between artisan knowledge and modern industry needs, making it a must-read for both budding designers and seasoned professionals.
