Learning how to patch a hole in wood is a practical and essential skill for any DIY enthusiast or homeowner. Over time, wear and tear, accidental damage, or natural imperfections can leave wood surfaces with unsightly holes or gaps. These blemishes not only detract from the material’s appearance but may also compromise its structural integrity. Fortunately, patching wood is an accessible process, even for beginners, and doesn’t require extensive tools or expertise.
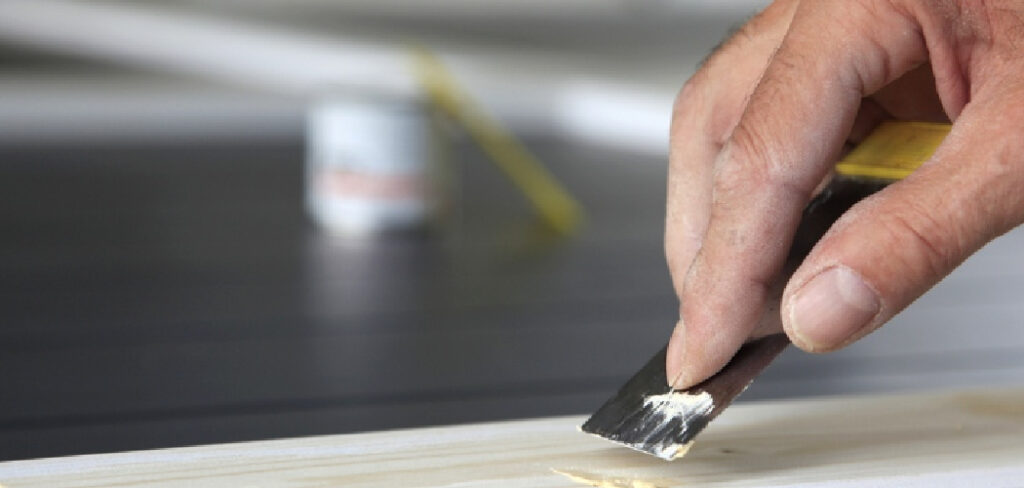
This guide will walk you through the step-by-step process of patching wood, helping you choose the right materials, apply techniques effectively, and ensure a professional-looking finish. Whether you’re repairing furniture, flooring, or outdoor wood structures, mastering this skill will save you time and money while giving new life to damaged surfaces.
By following this comprehensive guide, you’ll gain the confidence to patch holes in wood the right way, preserving the beauty and durability of your wooden items for years to come.
Why Patching Holes in Wood Is an Essential Skill
Wooden surfaces, no matter how sturdy or high-quality they are, are vulnerable to damage over time. From furniture and flooring to walls and outdoor decking, wood can develop holes due to a variety of reasons. Common culprits include drilling, nails, carpenter bees, or natural deterioration caused by exposure to the elements. Knowing how to patch a hole in wood is essential to maintaining the aesthetic and functional value of these surfaces.
One major reason to patch wood is to extend its lifespan. Over time, holes can evolve into larger cracks, weakening the piece and potentially leading to replacements that are both costly and labor-intensive. A quick patching job addresses these issues early, preventing further deterioration.
Additionally, patched wood can be stained, painted, or treated to match its surrounding surface seamlessly, restoring it to its original appearance. Whether you’re updating an antique chair or repairing outdoor fencing, this skill empowers you to care for your wooden items and keep them looking their best.
Finally, patching a hole is a sustainable and cost-effective solution. Instead of discarding damaged wood or buying new items, you’re reducing waste while preserving resources. With the techniques detailed below, patching becomes a simple yet impactful way to contribute to resourcefulness and sustainability.
Step-by-Step Guide to How to Patch a Hole in Wood
Step 1: Assess the Damage
The first step in learning how to patch a hole in wood is to assess the extent of the damage. Determine the size and depth of the hole, as these factors will influence your choice of materials and methods. Smaller holes, such as those caused by nails, are easier to repair and typically require only wood filler. Larger holes or deep gaps may need additional support, like dowels or epoxy fillers, for a successful patch.
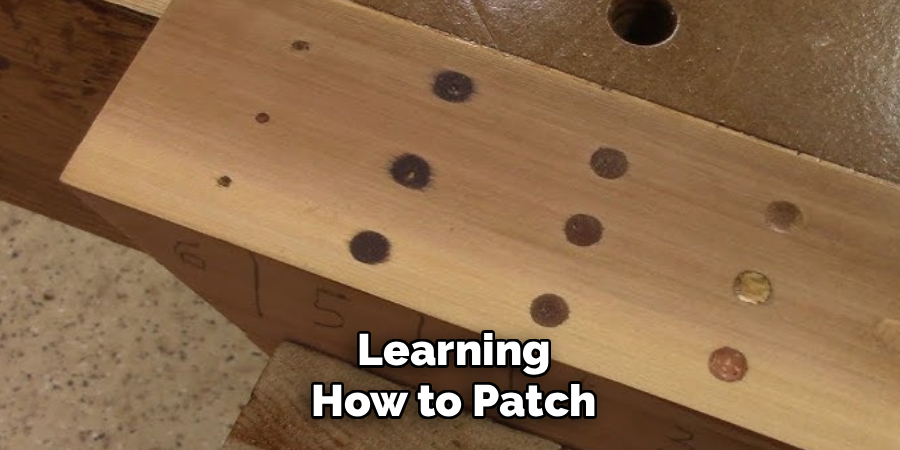
Examining the condition of the surrounding wood is equally important. If the surrounding wood is structurally weak or rotting, simply patching the hole will not be sufficient. You may need to reinforce or replace sections of the wood before proceeding with the repair.
Taking the time to thoroughly inspect the damage ensures that your patching solution is appropriate, durable, and effective. A careful assessment also helps you gather the right tools and materials before moving on to the next steps.
Step 2: Choose the Appropriate Filler
The next step in how to patch a hole in wood involves selecting the right filler. For small holes, wood filler or putty is the ideal choice. These products are easy to apply, quick to dry, and can be sanded smooth for a flawless finish. Wood putty is more flexible, making it better suited for outdoor repairs or areas exposed to temperature changes.
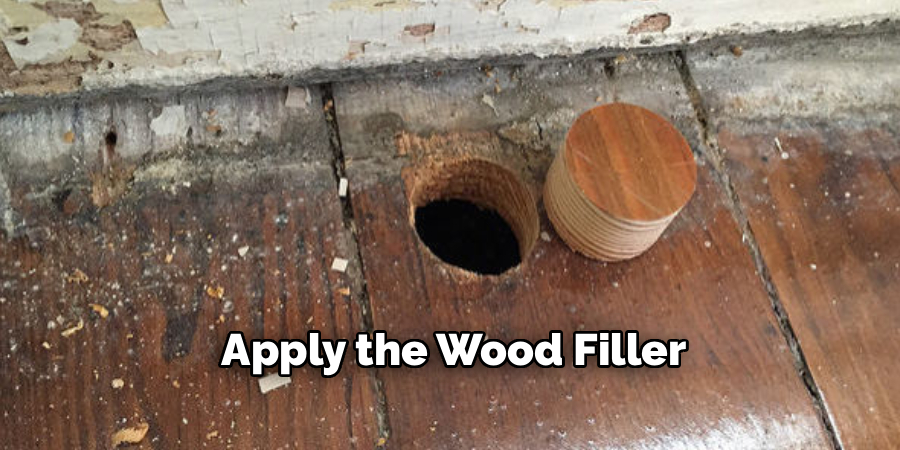
For larger gaps, consider using epoxy fillers or wood patches. Epoxy fillers are extremely durable and work well for structural repairs. Wood patches, which involve inserting a piece of wood into the hole, offer a more natural and subtle finish for significant damage areas.
By choosing the appropriate filler for your project, you’ll ensure a sturdy and invisible repair that blends seamlessly with the surrounding surface.
Step 3: Prepare the Area
Before applying any filler, you need to prepare the damaged area to ensure the patch adheres properly. Begin by cleaning the hole and its surroundings using a brush or a cloth to remove dirt, dust, and debris. For heavily soiled areas, a damp cloth may be necessary, but make sure the wood is completely dry before moving forward.
If the edges of the hole are jagged or rough, use sandpaper or a utility knife to trim and smooth them. This creates a cleaner surface for applying the filler and helps the patch stay in place over time. Proper preparation at this stage will lead to a more polished final result.
Step 4: Apply the Filler
To begin patching the hole, apply the wood filler or epoxy into the damaged area using a putty knife. Press the material firmly into the hole, making sure to eliminate air pockets and fill the gap completely. For larger holes, you may need to apply the filler in layers, allowing each layer to dry before adding the next.
Smooth out the surface of the filler with the edge of your putty knife to ensure it’s flush with the surrounding wood. This minimizes sanding later on and creates a more even surface once the patch dries. Consistency and attention to detail during this step are key to achieving a seamless appearance.
Step 5: Allow the Filler to Dry
Drying time varies depending on the type of filler you’re using, so consult the manufacturer’s instructions for specific guidance. Most wood fillers dry within a few hours, while epoxy products may require overnight curing. Ensuring the filler is fully dry and hardened before moving on to sanding is important, as premature handling can compromise the patch’s integrity.
While the filler dries, avoid heavy pressure or disturbance, as this could cause the material to crack or shrink unevenly. Patience during this step guarantees a strong and lasting bond.
Step 6: Sand the Surface
Once the filler has dried completely, sand the area using fine-grit sandpaper to blend the patch with the surrounding wood. Begin with 120-grit sandpaper to remove excess filler and create a level surface, then progress to higher grits like 220 for a smoother finish.
Take care to sand evenly and gently to avoid creating indentations or rough patches. The goal is to make the repair virtually indistinguishable from the original wood, especially if you plan to paint or stain the repaired area later.
Step 7: Apply Paint or Stain
The final step in how to patch a hole in wood involves finishing the repair with paint, stain, or sealant. Choose a product that matches the color and finish of the surrounding wood for a cohesive look. Apply paint or stain evenly using a brush or cloth, and allow it to dry completely before adding a second coat if needed.
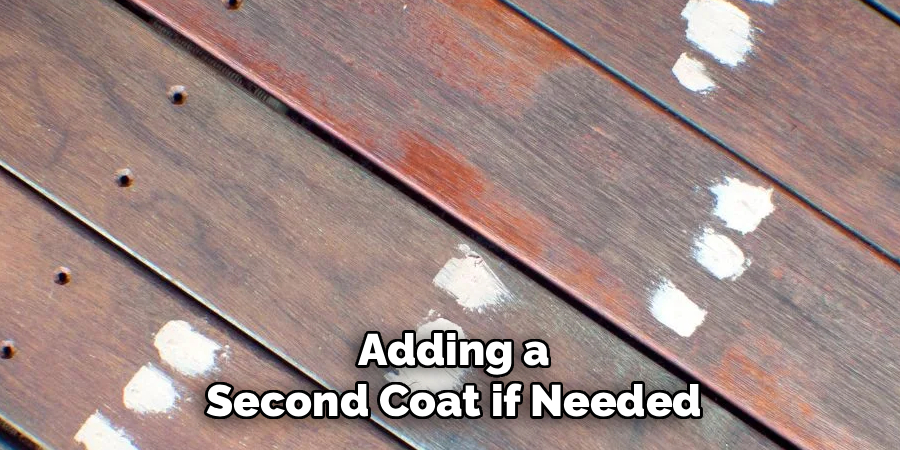
Applying a protective sealant is recommended for outdoor projects to shield the repaired area from moisture, UV rays, and other environmental factors. The finishing touch not only enhances the visual appeal of your work but also protects the patch for long-term durability.
Several Types of Wood Fillers
There are several types of wood fillers available, each suited to different repair needs and project requirements. Water-based wood fillers are easy to clean up, quick to dry, and typically less toxic, making them ideal for indoor use and smaller repairs. Solvent-based wood fillers, on the other hand, are more durable and resistant to environmental conditions, making them a better choice for outdoor projects or areas with high humidity.
Epoxy wood fillers are specifically formulated for heavy-duty repairs, such as filling large holes or restoring rotted wood, due to their exceptional strength and long-lasting properties. Additionally, some wood fillers are pre-colored to match common wood tones, while others can be stained or painted after application for seamless blending with the surrounding surface. Selecting the right type of wood filler depends on the project’s scope, location, and the desired finish.
Frequently Asked Questions
What materials work best for patching wood?
Wood filler or putty is ideal for small holes, while epoxy fillers or wood patches are better for larger gaps or structural repairs. Choose materials based on the size of the damage and the wood’s location.
How long does it take to patch a hole in wood?
The process typically takes several hours to a full day, depending on the size of the hole and the drying time of the filler. Epoxy repairs may require additional curing time.
Can I patch a hole in outdoor wood?
Yes, outdoor repairs are common. Use weather-resistant wood putty or epoxy fillers, and finish with a sealant to protect against the elements for lasting results.
Do I need to sand after applying wood filler?
Sanding is essential for creating a smooth surface that blends seamlessly with the surrounding wood. It also ensures an even finish when painting or staining.
Can I stain over wood filler?
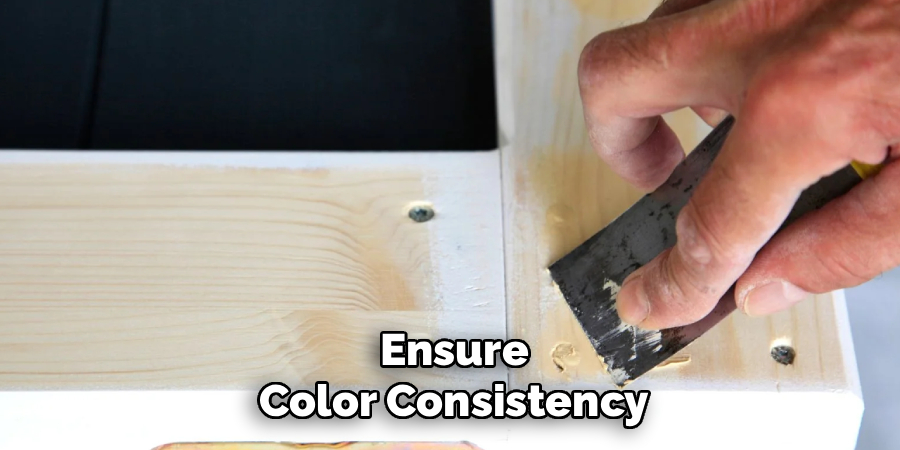
Some wood fillers are stainable, but their absorption may differ from natural wood. Test the stain on a small area first to ensure color consistency or use a pre-stain conditioner.
Conclusion
Mastering how to patch a hole in wood is a valuable DIY skill that allows you to maintain and restore wooden surfaces with confidence. By following this guide, you can handle everything from minor blemishes to major gaps effectively, ensuring your wood stays strong and beautiful for years.
Proper maintenance and regular inspection of wooden surfaces can prevent damage from escalating and save you time and effort in the long run. Keeping wood clean, dry, and protected from excessive moisture is essential to retaining its integrity and aesthetic appeal. Additionally, addressing minor issues promptly, such as small scratches or cracks, can help maintain the longevity and beauty of your wooden features.
Whether you’re repairing furniture, flooring, or outdoor structures, the techniques above will make the process straightforward and rewarding. Take the first step and start patching a hole in wood today—you’ll be surprised at the results you can achieve with a little effort and dedication!
About
Team Woodlix is a distinguished figure in the world of Diy design, with a decade of expertise creating innovative and sustainable Diy solutions. His professional focus lies in merging traditional craftsmanship with modern manufacturing techniques, fostering designs that are both practical and environmentally conscious. As the author of diy, Woodlix delves into the art and science of furniture-making, inspiring artisans and industry professionals alike.
Education RMIT University
(Melbourne, Australia) Associate Degree in Design (Team Woodlix) Focus on sustainable design, industry-driven projects, and practical craftsmanship. Gained hands-on experience with traditional and digital manufacturing tools, such as CAD and CNC software.
Nottingham Trent University
(United Kingdom) Bachelor’s in diyfastly.com and Product Design (Honors) Specialized in product design with a focus on blending creativity with production techniques. Participated in industry projects, working with companies like John Lewis and Vitsoe to gain real-world insights.
Publications and Impact
In diy, Team Woodlix his insights on indoor design processes, materials, and strategies for efficient production. His writing bridges the gap between artisan knowledge and modern industry needs, making it a must-read for both budding designers and seasoned professionals.
