Attaching insulation to wood is a crucial step in ensuring energy efficiency and maintaining comfortable temperatures within a building. Proper insulation helps reduce heat loss in winter and keeps heat out during summer, leading to lower energy bills and a more sustainable living or working environment. This guide will walk you through the essential steps of how to attach insulation to wood, ensuring optimal performance and durability.
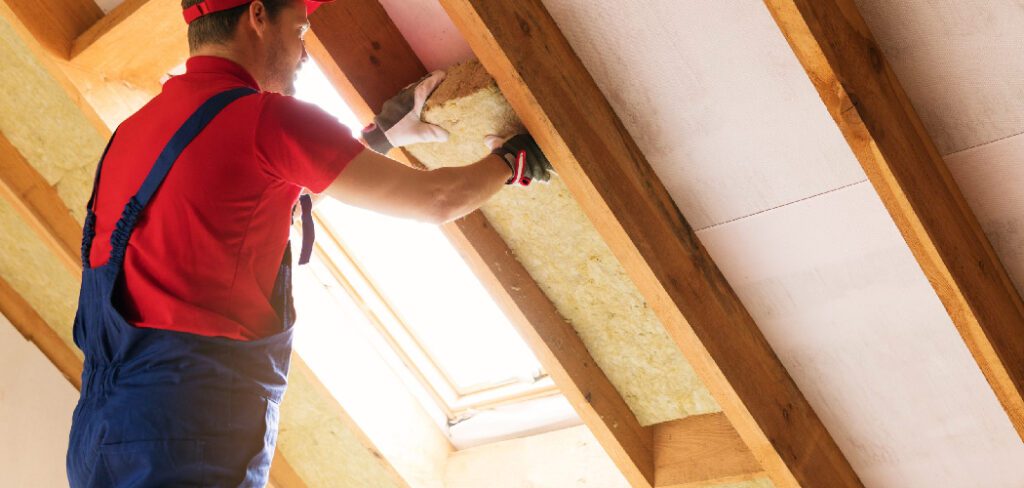
Types of Insulation Suitable for Wood
When selecting insulation for wood structures, it’s important to choose materials that provide durability, energy efficiency, and ease of installation. Here are some common types of insulation suitable for wood:
- Fiberglass Insulation
Fiberglass is one of the most popular types of insulation for wood. Available in batts, rolls, and loose-fill forms, it is lightweight, easy to cut, and installed directly between wooden studs. Its non-combustible properties and ability to resist moisture make it an excellent choice. - Spray Foam Insulation
Spray foam insulation expands on application, forming an airtight seal. It works well on wooden surfaces by filling cracks and gaps. It is particularly effective for irregularly shaped areas or hard-to-reach spaces. - Mineral Wool Insulation
Mineral wool, also known as rock wool, is a dense and durable insulation material. It provides excellent thermal and soundproofing properties, making it perfect for wood structures where noise reduction is a concern. - Rigid Foam Insulation
Rigid foam boards offer high insulating value in a compact form. These boards are durable and easy to attach to wooden surfaces, making them an ideal choice for walls, floors, or ceilings that require additional strength. - Natural Fiber Insulation
Materials like cotton, sheep’s wool, and cellulose are environmentally friendly options. They are easy to install in wood constructions and are particularly appealing for those seeking sustainable insulation solutions.
Each type of insulation has its own advantages, making it essential to assess your specific needs, budget, and environmental preferences before deciding on the best fit for your project.
Tools and Materials Needed
To successfully install insulation, you will need the following tools and materials:
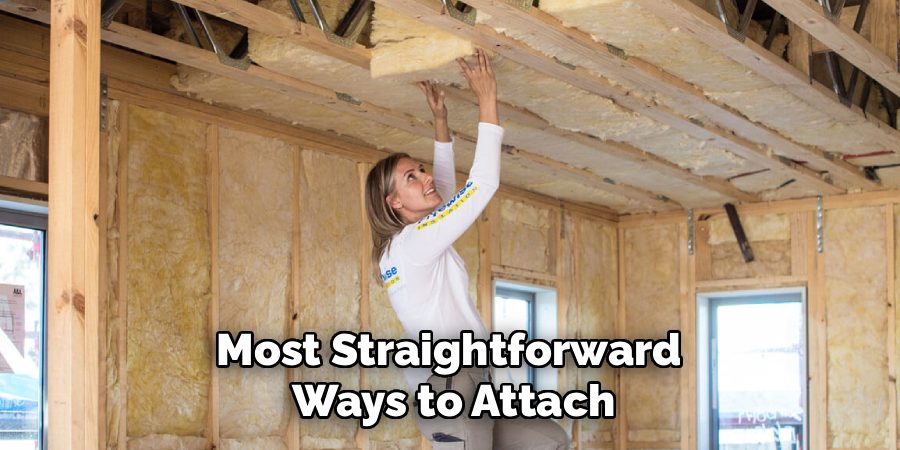
- Measuring Tape – Essential for accurately measuring the area to be insulated.
- Utility Knife – For cutting insulation materials to the required size.
- Protective Gear – Includes gloves, goggles, and a dust mask to ensure safety during installation.
- Staple Gun – Useful for securing insulation materials, particularly batts or rolls.
- Insulation Supports – Such as rods or netting, to hold the insulation in place in unfinished spaces.
- Sealant or Tape – For sealing gaps and ensuring proper coverage.
- Ladder – Required for reaching high or hard-to-access spaces like ceilings and attics.
Having the right tools and materials on hand will not only make the process more efficient but also ensure a secure and effective insulation installation.
10 Methods How to Attach Insulation to Wood
1. Using Construction Adhesive for Secure Bonding
One of the most straightforward ways to attach insulation to wood is by using a high-quality construction adhesive. This method is particularly effective when working with rigid foam insulation boards that need to stay firmly in place against wooden studs, beams, or sheathing. Before applying the adhesive, the wood should be dry, clean, and free from dust to ensure maximum adhesion.
The adhesive is typically applied in continuous beads or zigzag patterns across the wood, after which the insulation board is pressed firmly against the surface. A few minutes of applied pressure can help set the bond until the adhesive begins to cure. This method eliminates the need for nails or screws, reduces the risk of thermal bridging, and creates a strong, lasting connection that works well for both interior and exterior applications.
2. Mechanical Fastening with Screws and Washers
Another widely used method is attaching insulation to wood with screws and insulation washers. This method is especially useful for securing thicker or heavier insulation boards that adhesive alone may not hold in place. Large-diameter plastic or metal washers are placed under the screw heads to spread the pressure and prevent the fasteners from pulling through the insulation.
The screws penetrate through the insulation and into the wood, providing a mechanically secure bond. This method works for rigid foam panels, mineral wool boards, or even layered insulation systems. An added benefit of using screws and washers is that they allow for easy removal or replacement of insulation in the future if repairs or modifications are needed. Although this approach requires more effort than adhesive alone, it provides a robust solution for long-term stability.
3. Stapling Fiberglass Batts Directly to Studs
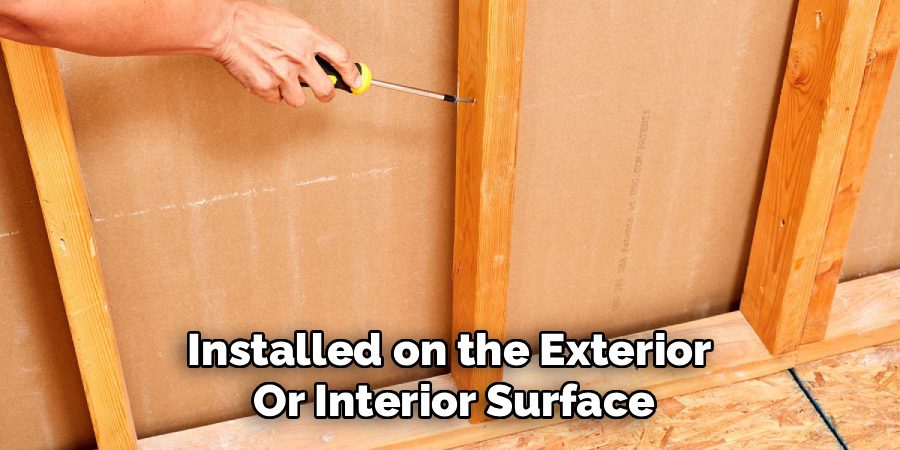
When working with fiberglass batt insulation, one of the most common methods is simply stapling the insulation paper flanges directly to wooden studs. Fiberglass batts often come with kraft or foil-faced backing that includes small flanges along the edges, which are specifically designed for fastening. Using a heavy-duty staple gun, these flanges are attached to the inside edges of studs or joists, ensuring the insulation fits snugly within the cavity.
Proper alignment is essential to prevent gaps that could reduce thermal performance. Stapling is quick, cost-effective, and requires minimal tools, making it ideal for do-it-yourself home insulation projects. While this method may not provide the same level of airtightness as adhesive or foam sealing, it remains a reliable and widely accepted way of attaching batt insulation to wood framing.
4. Using Furring Strips to Hold Insulation in Place
For situations where insulation needs to be installed on the exterior or interior surface of wooden framing, furring strips can be used to hold the material securely. In this method, insulation boards or batts are placed against the wooden structure, and thin wooden furring strips are then fastened over them with nails or screws.
The strips apply pressure across the insulation, locking it tightly in place while also creating a stable surface for attaching drywall, paneling, or siding. This method is particularly advantageous when thicker layers of insulation are used, as it ensures the insulation stays aligned and does not sag over time. Additionally, the use of furring strips provides an opportunity to create a ventilation gap if needed, which can improve moisture control and overall wall performance.
5. Applying Spray Foam Directly to Wood Surfaces
Spray foam insulation offers a unique method of attaching insulation directly to wood without the need for separate fasteners. The foam expands upon application, adhering firmly to the wooden surface and filling every gap or cavity. This creates both insulation and an air seal in a single step, which greatly improves energy efficiency. Spray foam is particularly effective in irregularly shaped areas, around pipes, or in tight spaces where traditional insulation boards or batts would be difficult to install.
Once cured, the foam becomes rigid and durable, holding itself in place without additional support. Although more expensive than other methods, spray foam provides superior performance by reducing air leakage and preventing moisture infiltration. It is especially beneficial in basements, attics, and other areas where maintaining airtightness is critical.
6. Nailing Insulation Panels with Cap Nails
Cap nails provide another effective method of securing insulation to wood, especially for lightweight foam boards or sheathing panels. These specialized nails feature a wide, flat plastic or metal cap that distributes pressure across the insulation surface, reducing the risk of tearing or puncturing. The nails are hammered directly through the insulation and into the wood, creating a secure connection.
This technique is fast, cost-effective, and particularly well-suited for large-scale installations where speed and efficiency are important. However, care must be taken to avoid overdriving the nails, which could compress the insulation and reduce its effectiveness. Using cap nails allows for both secure attachment and a neat, professional appearance, making this method popular in residential and commercial construction alike.
7. Wire Supports for Between-Joist Insulation
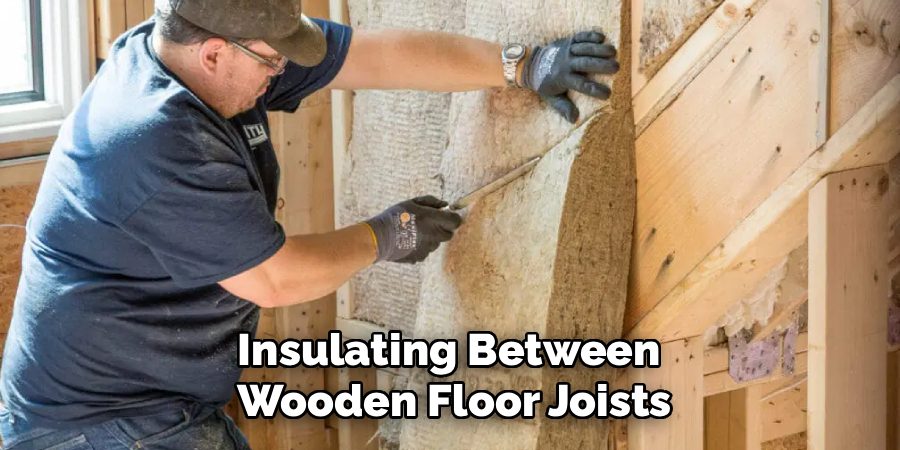
When insulating between wooden floor joists, such as in a basement or crawlspace, wire supports can be an excellent method of attachment. These supports, often called “tiger teeth” or “insulation hangers,” are springy metal rods that are slightly longer than the spacing between joists. The wires are pressed into place under the joists, where they hold the insulation batts securely against the subfloor. This method requires no adhesives, staples, or nails, making it a quick and efficient solution. Wire supports also allow for some flexibility if adjustments need to be made during installation. While not suitable for rigid insulation boards, this method works perfectly with fiberglass batts or mineral wool placed between wooden joists.
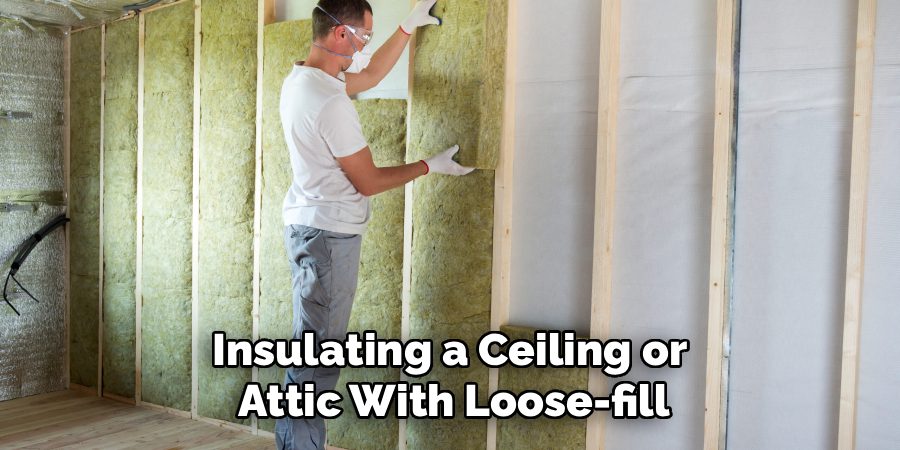
8. Using Strapping or Netting for Ceiling Insulation
When insulating a ceiling or attic with loose-fill or batt insulation, strapping or netting can be used to hold the material in place against wood framing. Strapping involves fastening thin wooden or metal strips across the underside of the joists to support the insulation. Alternatively, specialized insulation netting can be stapled directly to the joists, creating a mesh that keeps the insulation from sagging or falling out. This method is particularly useful when working overhead, where gravity naturally pulls insulation downward. By using strapping or netting, the insulation stays firmly in place while still allowing for ventilation and future access if needed. This approach ensures long-lasting performance and helps maintain consistent coverage across the entire insulated area.
9. Combining Adhesive with Mechanical Fasteners
In some cases, the most reliable solution is to combine adhesive bonding with mechanical fastening for maximum strength. This dual approach ensures that even if one method weakens over time, the other will continue to hold the insulation securely in place. Typically, a layer of construction adhesive is applied to the wooden surface before positioning the insulation, and then screws, washers, or cap nails are added for reinforcement. This method is especially useful in high-stress areas, such as exterior walls exposed to temperature changes or vibrations. By using both adhesive and fasteners, the bond between insulation and wood becomes virtually unshakable, ensuring that the insulation remains effective for many years.
10. Installing Insulation within Wooden Frames or Grooves
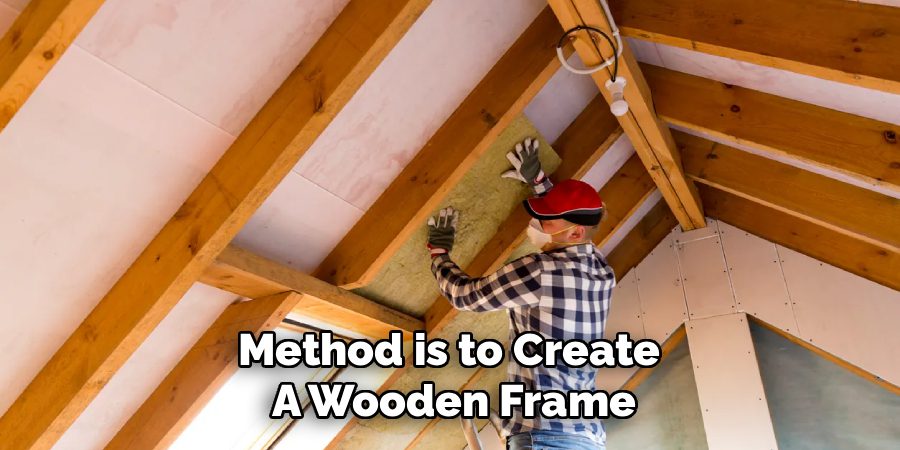
Another practical method is to create a wooden frame or groove system that holds the insulation securely in place. In this approach, the wood is cut or arranged to form cavities that perfectly fit the insulation material. Once the insulation is inserted, it stays locked in position without the need for extensive adhesives or fasteners. This method is particularly effective for custom furniture projects, acoustic panels, or specialized construction where insulation must fit seamlessly with wooden structures. The natural confinement provided by the wood ensures that the insulation does not shift, while also offering a neat and professional finish. This approach combines craftsmanship with functionality, making it a versatile method for both decorative and practical projects.
Conclusion
Attaching insulation to wood can be accomplished in a variety of ways, each suited to different types of insulation materials and project requirements. From adhesives and mechanical fasteners to innovative systems like wire supports and spray foam, every method offers unique advantages depending on the situation. Thanks for reading this blog post on how to attach insulation to wood! We hope you found it helpful and informative.
About
Team Woodlix is a distinguished figure in the world of Diy design, with a decade of expertise creating innovative and sustainable Diy solutions. His professional focus lies in merging traditional craftsmanship with modern manufacturing techniques, fostering designs that are both practical and environmentally conscious. As the author of diy, Woodlix delves into the art and science of furniture-making, inspiring artisans and industry professionals alike.
Education RMIT University
(Melbourne, Australia) Associate Degree in Design (Team Woodlix) Focus on sustainable design, industry-driven projects, and practical craftsmanship. Gained hands-on experience with traditional and digital manufacturing tools, such as CAD and CNC software.
Nottingham Trent University
(United Kingdom) Bachelor’s in diyfastly.com and Product Design (Honors) Specialized in product design with a focus on blending creativity with production techniques. Participated in industry projects, working with companies like John Lewis and Vitsoe to gain real-world insights.
Publications and Impact
In diy, Team Woodlix his insights on indoor design processes, materials, and strategies for efficient production. His writing bridges the gap between artisan knowledge and modern industry needs, making it a must-read for both budding designers and seasoned professionals.
