A wooden terrace is more than just an addition to your home—it’s an elegant transition from indoor comfort to the beauty of the outdoors, creating a seamless space to unwind, entertain, and soak up the serenity of nature. Homeowners are increasingly recognizing the appeal of wooden terraces for their inviting warmth, natural aesthetic, and the tangible boost they provide to property value.
While the thought of managing such a substantial project may feel daunting, you’ll find that with thoughtful planning and the right guidance, anyone can learn how to build a wooden terrace and bring their vision to life. This comprehensive guide will walk you through each key stage, from the earliest moments of planning to those rewarding final touches.
Planning Your Wooden Terrace Project
Determining Size and Layout
Before any materials are purchased or tools are brandished, it’s essential to evaluate your available outdoor space and envision how you’d like the terrace to function. Think about how you plan to use the terrace—perhaps as a spot for family meals, a quiet reading nook, or a lively entertainment area. Carefully measuring the area ensures your terrace is generous enough for its intended purpose while maintaining comfortable walkways and access to other parts of your yard. Take note of sun patterns, existing landscaping, privacy concerns, and the best orientation for enjoying views.
Traffic flow is also crucial. Picture moving between your home and the terrace, passing around furniture, and welcoming guests. Allow ample space around tables and seating areas. If you plan to add outdoor kitchens, fire pits, or planters, factor them into your layout at this stage. Integrating the terrace with your landscaping—such as blending edges with flower beds or connecting paths—can help your new addition look like a natural extension of your living area.
Obtaining Permits and Checking Regulations
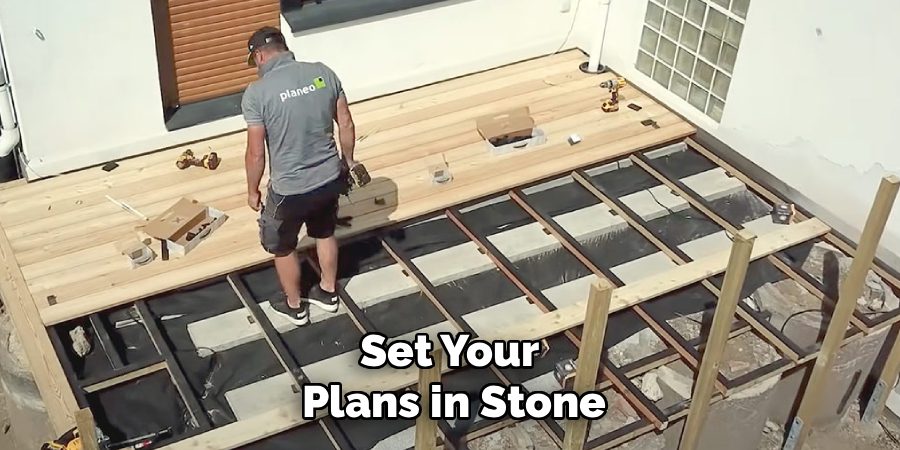
Before you set your plans in stone, research local building codes and obtain all necessary permits. Many municipalities have strict rules about structure size, setbacks from property boundaries, allowable heights, and materials for raised decks or terraces. These regulations are in place to maintain safety and neighborhood standards, so adhering to them is a must. The process typically involves submitting your plans for review and may require inspections during construction.
Don’t overlook homeowner association guidelines, if applicable. Even if local codes are minimal, HOAs may have additional restrictions regarding design and placement. Investing a little extra effort now can prevent costly mistakes or the frustration of making changes later.
Budget Planning and Cost Estimation
A realistic budget is the backbone of a successful project. Begin by listing your expected expenses, including lumber, fasteners, hardware, hardware rental or purchase, and finishing materials. Don’t forget costs for hiring professionals if aspects of the build—such as electrical, complex installations, or permits—fall outside your expertise.
Assess the tools you already own versus those you’ll need to rent or buy. Often, you can borrow specialty tools, which helps keep costs down. Estimate your timeline as well; more experienced builders may complete a small terrace in a few weekends, while newcomers or those tackling larger projects should allot extra time.
Choosing the Right Materials
Selecting Suitable Wood Species
Material choice isn’t just aesthetic—it affects durability, maintenance, and overall satisfaction with the terrace. For natural wood surfaces, pressure-treated lumber remains a favorite for its affordability and resistance to rot. Cedar and teak, though pricier, resist the elements naturally, aging gracefully and requiring less chemical treatment.
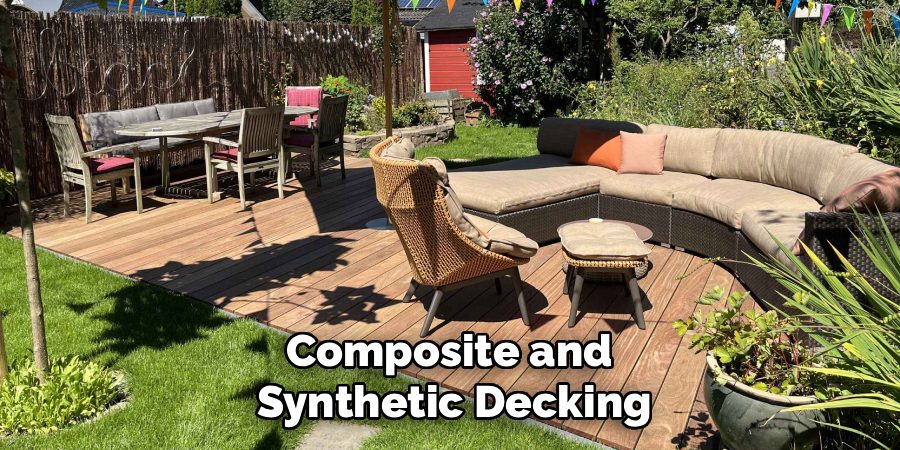
Composite and synthetic decking are popular alternatives, blending wood chips with plastics or resins for maximum longevity and low maintenance. They won’t warp like wood, don’t splinter, and offer uniform finishes that mimic various wood tones.
Before choosing, weigh your climate: in humid or rainy regions, rot-resistant woods or composites are typically preferable. In dry, sunny areas, UV resistance and aesthetic considerations may take precedence. Of course, your budget, preferred look, and willingness to maintain the terrace year after year will guide your final decision.
Understanding Wood Treatment and Grades
Pressure-treated wood is chemically fortified to repel insects and moisture, making it long-lasting—but it may require annual sealing to maintain its appearance. Naturally rot-resistant woods like teak, cedar, and redwood demand less maintenance.
When purchasing, pay close attention to grade markings. “Select” and “clear” grades are smooth and free from knots, ideal for visible or finished surfaces. Lower grades work well for framing, where imperfections are concealed.
Hardware and Fastener Selection
Outdoor structures require fasteners that won’t rust or corrode over time. Galvanized or stainless-steel screws, bolts, and brackets are essential for securing joists, beams, and decking. Look for joist hangers designed specifically for exterior use, and avoid using untreated nails or standard drywall screws, which degrade quickly in outdoor conditions.
Brackets and hidden fastener systems offer clean lines and a more polished look for visible surfaces, while specialized hardware can greatly simplify installation—especially for larger structures or uneven terrain.
Site Preparation and Foundation Work
Surveying and Marking the Area
Begin construction by precisely measuring and marking your terrace’s footprint. Use wooden stakes and a mason’s line to outline the area, checking corners with the 3-4-5 method to ensure perfect right angles. Double-check your measurements against your plans, and adjust as needed to accommodate site-specific factors like trees, slopes, or utility lines.
Excavation and Ground Preparation
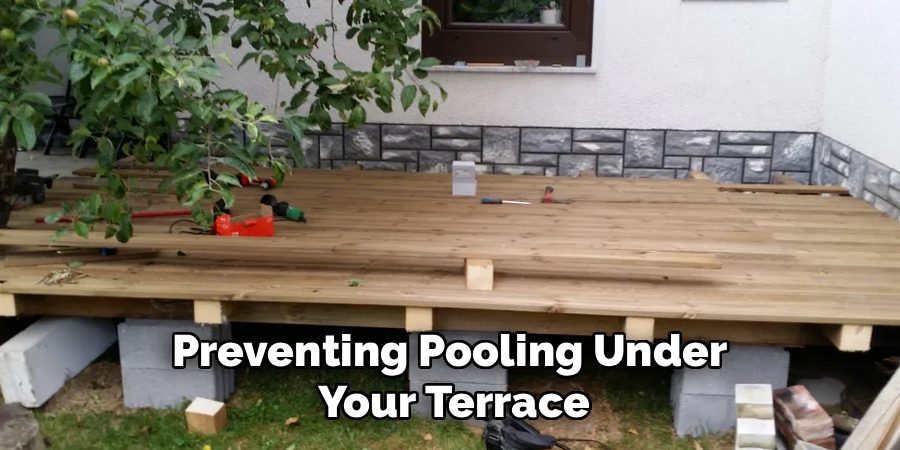
Remove grass, rocks, and topsoil from the site, working to a depth of at least 6–8 inches. Grading is a critical step—ensure a very slight slope away from the house or major structures to direct water away, preventing pooling under your terrace. Compact the subgrade to provide a stable base. Laying landscape fabric at this stage helps suppress weeds, and a layer of gravel aids both stability and drainage.
Installing Footings and Foundation Posts
Depending on your local codes and terrace elevation, you may need concrete footings below the frost line for stability. Dig post holes at designated intervals, following your plans’ guidance on spacing and quantity. Mix and pour concrete into the holes, then set posts and use a level to ensure they are perfectly upright and aligned. Give the concrete ample time to cure before building atop the foundation.
How to Build a Wooden Terrace: Frame Construction
Installing the Ledger Board
Where the terrace adjoins your home, a ledger board anchored securely to the house provides key structural support. Ensure it is attached using lag bolts directly into the home’s structure (not just siding), and add flashing above the ledger to prevent water from seeping behind and damaging your home’s frame. Regularly check your level—an uneven ledger leads to a crooked terrace.
Setting Beams and Joists
Next, install the terrace’s beams, which span the footings or post bases. These beams serve as the foundation for the joists—the “floor” of your terrace. Attach joists perpendicular to the beams, typically 16 inches apart on center, using joist hangers for secure support. Your choice of spacing depends on the type and thickness of decking you’ll use; always consult product guidelines to avoid excess flex or bounce.
Ensuring Structural Integrity
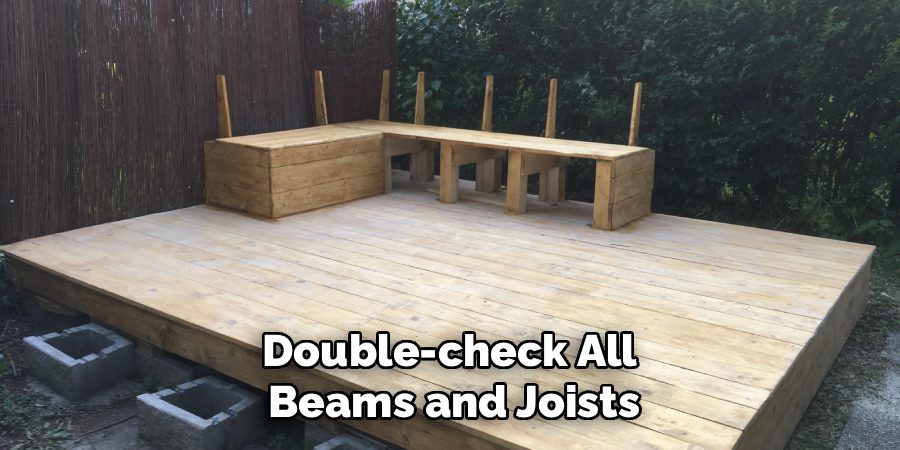
Double-check all beams and joists for level and square alignment before fastening everything in place. Use diagonal braces or temporary supports to maintain the frame’s geometry during installation. Mistakes caught and corrected now will save headaches later. Step back regularly to assess the shape and fit; a well-built frame is the backbone of a sturdy, long-lasting terrace.
Installing Decking Boards
Choosing a Decking Pattern
The pattern you choose for your decking can dramatically affect both the appearance and structure of the finished terrace. Straight layouts are simplest and most economical, while diagonal or herringbone patterns add visual interest but demand more precise measuring and additional cuts. Each pattern influences the amount of waste and the layout of joints—plan ahead to ensure efficient use of your materials.
Proper Board Installation Techniques
Begin laying boards from one edge or the wall, using the straightest board as your reference point. Maintain consistent gaps between boards (typically ⅛ to ¼ inch) to allow water drainage and wood expansion. Some systems offer hidden fasteners for a sleek appearance, while others require face-screwing or nailing—always use recommended fasteners for your materials to ensure lasting performance.
Secure each board individually, checking for alignment and adjusting as needed. Paying attention to detail during this stage assures a uniform look and minimizes warping or cupping as the wood reacts to the elements.
Cutting and Fitting Around Obstacles
As you lay boards, you’ll likely encounter posts, pipes, or other features that require careful measuring and cutting for a snug fit. Mark cuts accurately, double-checking measurements before proceeding. Use a jigsaw or circular saw for corners or curves, and always sand cut edges to avoid splinters. Strive for tight, clean transitions between boards for the most professional appearance.
Adding Railings and Safety Features
Designing Appropriate Railing Systems
If your terrace is raised above ground level, local codes typically require railings for safety. These rules specify minimum heights and maximum spacing between balusters to prevent accidents. Various railing styles are available, ranging from classic wooden rails to sleek modern options using metal or glass. Choose a style that complements your home, landscape, and desired level of privacy.
Installing Posts and Balusters
Install railing posts securely at regular intervals, following both your plans and code requirements. Notch posts as needed to fit snugly against the terrace frame, ensuring they meet all height and strength specs. Add balusters or infill panels with even spacing and check for plumb alignment throughout. Fasten everything securely; railings bear considerable stress during everyday use.
Adding Stairs and Access Points
If your terrace elevation requires stairs, plan for safe, code-compliant construction. Calculate the proper rise and run for each step, and provide sturdy, comfortable handrails. Widen landings at transition points for accessibility and a comfortable flow between the terrace and the yard.
Drainage and Weatherproofing
Ensuring Proper Water Drainage
One key factor in terrace longevity is controlling moisture. Always slope the finished surface of the terrace slightly away from the house, and design the area beneath the terrace for adequate airflow and drainage. Use gravel or open paver supports if possible to prevent water from collecting underneath.
Applying Protective Finishes
Once built, your terrace will benefit greatly from a protective finish. Depending on your material, you may choose a transparent sealer, a tinted stain, or a natural oil. Each option has different application methods and maintenance schedules—brush, roll, or spray as recommended, and allow adequate drying time.
Regularly cleaning and refinishing the surface every few years—more often for high-traffic areas—preserves color, prevents UV damage, and wards off rot and insect infestation.

Preventing Common Moisture Problems
Good airflow beneath the terrace is vital for drying out any accidental leaks or standing water. Ensure vents or open gaps are maintained and periodically inspect for blockage from soil, debris, or plants. Watch for early signs of moisture—mold, mildew, warped boards—and address issues promptly to keep your terrace solid and safe.
Electrical and Lighting Considerations
Planning for Electrical Needs
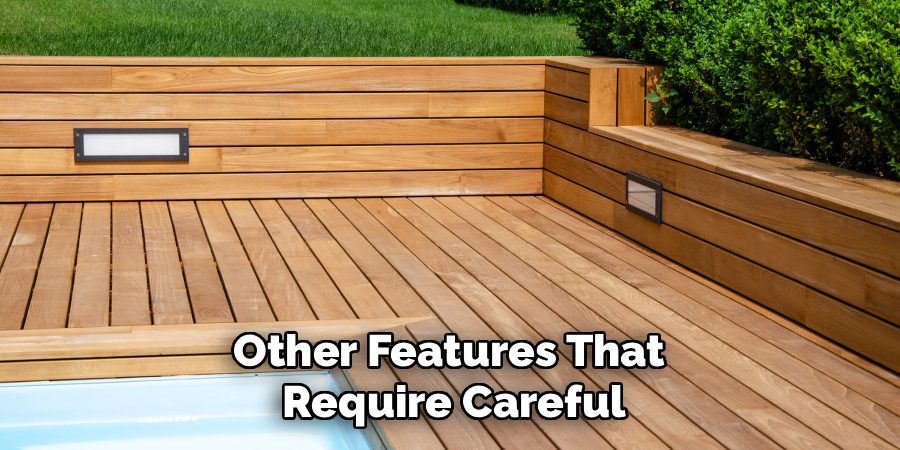
Consider how lighting and electrical outlets can make your terrace more inviting and functional. Well-placed lighting ensures safety and extends usability into the evening. Planning early makes it easier to route wiring discreetly and comply with code requirements. For safety’s sake, any electrical work—especially that which connects to household power—should be completed by a qualified electrician.
Lighting Design Options
Explore a variety of lighting options to suit your vision. From simple, mountable post lights to built-in LEDs lining steps or floorboards, the choices are vast. Solar-powered and low-voltage systems simplify installation and reduce energy use. Thoughtful lighting design sets the mood, highlights architectural features, and offers convenience after dark.
Finishing Touches and Accessories
Installing Built-in Features
Built-in additions like benches, planter boxes, or lockable storage enhance your terrace’s utility and appearance. With the structure complete, you may choose to add these features during or after construction. Ensure built-ins are well-integrated with the frame for stability and finished using the same quality materials.
Adding Comfort and Style Elements
For peak comfort, consider features like pergolas or retractable shades for sun and weather protection, or add bold design elements with trellises and accent walls. Lay out furniture so traffic flows smoothly, keeping primary walkways clear and focusing seating in spots with the best views or shade. Plan for flexibility so your terrace can handle intimate gatherings and large celebrations alike.
Maintenance and Long-term Care
Establishing a Maintenance Schedule
Regular care keeps your wooden terrace safe, beautiful, and long-lasting. Sweep or wash the surface to remove leaves and debris. Conduct periodic inspections for signs of wear or rot and tighten any loose fasteners. Usually, a thorough clean and inspection at the start and end of the season is sufficient, with refresher applications of stain or sealant every couple of years—more often in harsh climates.
Conclusion
Building a wooden terrace is a significant, rewarding undertaking, one that transforms your outdoor space and adds lasting value to your home. The process—beginning with careful planning and progressing through material choice, foundation preparation, frame construction, and attention to finishing touches—demands diligence but pays dividends for years to come. Whether you tackle every step yourself or enlist help for complex aspects, the result is a custom outdoor living area that perfectly suits your lifestyle.
With this comprehensive guide, you now have the knowledge and confidence needed for how to build a wooden terrace that will provide years of outdoor enjoyment and add lasting value to your home. Approach each phase with patience and an eye for quality, and soon you’ll be enjoying your terrace in every season.
About
Team Woodlix is a distinguished figure in the world of Diy design, with a decade of expertise creating innovative and sustainable Diy solutions. His professional focus lies in merging traditional craftsmanship with modern manufacturing techniques, fostering designs that are both practical and environmentally conscious. As the author of diy, Woodlix delves into the art and science of furniture-making, inspiring artisans and industry professionals alike.
Education RMIT University
(Melbourne, Australia) Associate Degree in Design (Team Woodlix) Focus on sustainable design, industry-driven projects, and practical craftsmanship. Gained hands-on experience with traditional and digital manufacturing tools, such as CAD and CNC software.
Nottingham Trent University
(United Kingdom) Bachelor’s in diyfastly.com and Product Design (Honors) Specialized in product design with a focus on blending creativity with production techniques. Participated in industry projects, working with companies like John Lewis and Vitsoe to gain real-world insights.
Publications and Impact
In diy, Team Woodlix his insights on indoor design processes, materials, and strategies for efficient production. His writing bridges the gap between artisan knowledge and modern industry needs, making it a must-read for both budding designers and seasoned professionals.
