Building a wooden umbrella stand is a practical and rewarding project that adds a functional yet stylish element to your home. Whether you’re looking to organize umbrellas in your entryway or create a handcrafted gift, this guide will walk you through the process step by step.

With a few materials, some basic tools, and a little bit of time, you can create a durable and attractive stand that complements your space. In this blog post we will show you how to build a wooden umbrella stand so that it functions properly. Read on to learn more about which components and tools are needed for the job as well as detailed instructions on completing the task!
Benefits of Making Your Own vs. Buying Pre-Made
Creating your own wooden umbrella stand comes with several unique benefits that make it a worthwhile project. Firstly, crafting your own stand allows for complete customization. You can choose the dimensions, design, and materials to perfectly match your space and aesthetic preferences, something that pre-made options often fail to offer. Additionally, making your own stand can be more cost-effective, as purchasing raw materials is often cheaper than buying a ready-made product of similar quality.
Another advantage lies in the durability and craftsmanship you can achieve. By selecting quality materials and assembling the stand with care, you ensure it is built to last. Beyond the practical benefits, the process of making your own umbrella stand provides a sense of accomplishment and adds a personal touch to your home, making it a meaningful item that you can take pride in.
Materials and Tools Needed
To create your own umbrella stand, you will need the following materials and tools:
Materials:
- Wooden boards or panels (for the body of the stand)
- Screws or nails
- Wood glue
- Sandpaper (various grits)
- Paint, stain, or varnish (for finishing)
- Protective pads or felt (to prevent scratching the floor)
Tools:
- Saw (manual or electric, depending on preference)
- Drill with appropriate drill bits
- Screwdriver or hammer
- Measuring tape
- Leveling tool
- Paintbrushes or rollers
These materials and tools will enable you to build a sturdy and customized umbrella stand that fits your personal style and home decor. Remember to work carefully and safely when handling tools and materials.
10 Methods How to Build a Wooden Umbrella Stand
1. Planning and Designing the Stand
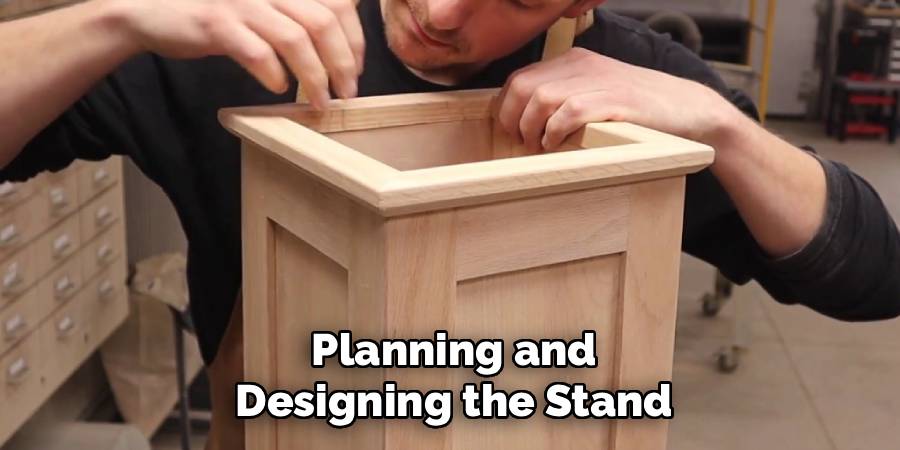
The first step is planning the design of your umbrella stand. Decide whether you want a traditional cylindrical stand, a square or rectangular box style, or a more decorative piece with carved details. Consider the number of umbrellas it needs to hold, the overall height, and whether you want a removable drip tray at the base. Sketch a detailed plan with accurate measurements, including thickness of the wood, spacing for structural supports, and dimensions of any internal dividers. Planning ensures that the finished stand is both functional and visually balanced.

2. Selecting Appropriate Wood
Choosing the right wood is crucial for durability and appearance. Hardwoods like oak, maple, or teak are excellent choices because they resist water damage and provide long-lasting strength. Softer woods, such as pine, can be used for decorative stands but may require additional protection, such as a water-resistant finish. Inspect the wood for straight grains, free of knots or cracks, to ensure structural integrity. Proper wood selection ensures your umbrella stand will withstand frequent use and resist warping from exposure to moisture.
3. Measuring and Cutting Wood Panels
Accurate measurement is essential for a well-proportioned umbrella stand. Measure each panel according to your design plan—sides, bottom, and any internal dividers. Use a sharp pencil to mark cutting lines and a fine-toothed saw for clean cuts. For box-style stands, cut four side panels and a base, adding allowances for joinery. For cylindrical stands, create curved panels or thin slats that can be bent or shaped to form a round shape. Precise cuts prevent gaps and ensure the stand assembles neatly.
4. Shaping and Sanding Panels
After cutting, smooth all edges and surfaces using sandpaper or a sanding block. For curved or decorative panels, shaping can be done with a jigsaw or spokeshave to achieve smooth curves. Sanding removes splinters and prepares the surface for glue and finish. For a refined appearance, sand progressively from medium to fine grit, paying attention to corners and edges. Smooth panels not only enhance aesthetics but also prevent damage to umbrellas or clothing when using the stand.
5. Assembling the Frame
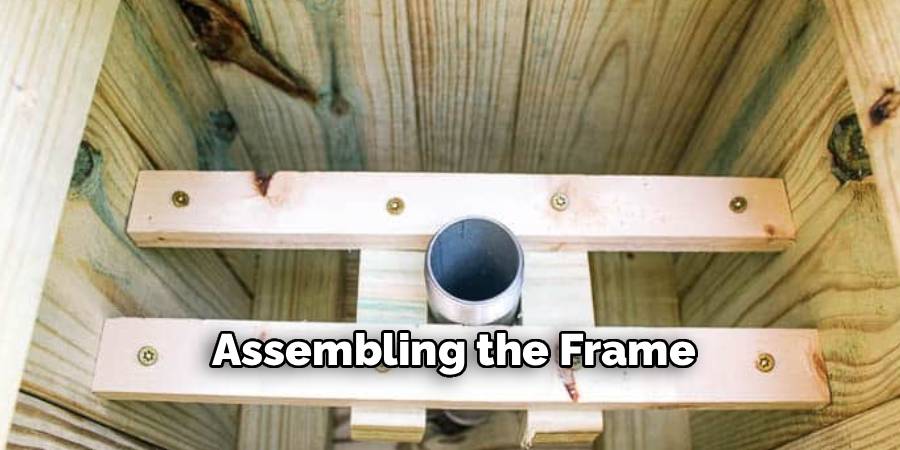
Assemble the stand’s frame by joining the side panels to the base. Apply wood glue along edges and clamp panels securely until the adhesive dries. For additional strength, reinforce the corners with nails or screws, countersinking them to maintain a clean surface. Ensure that the panels are square and level to prevent a crooked structure. A well-assembled frame forms a sturdy foundation, capable of supporting multiple umbrellas without wobbling.

6. Adding Internal Supports or Dividers
Internal supports or dividers help organize umbrellas and prevent tipping. Cut vertical or horizontal divider panels according to your design. Glue and secure these dividers inside the stand at even intervals, ensuring they are perpendicular to the base and aligned properly. Dividers are particularly important in wider stands to keep umbrellas upright and prevent them from leaning or clustering. Strong, correctly positioned dividers contribute to both functionality and visual appeal.
7. Installing a Drip Tray
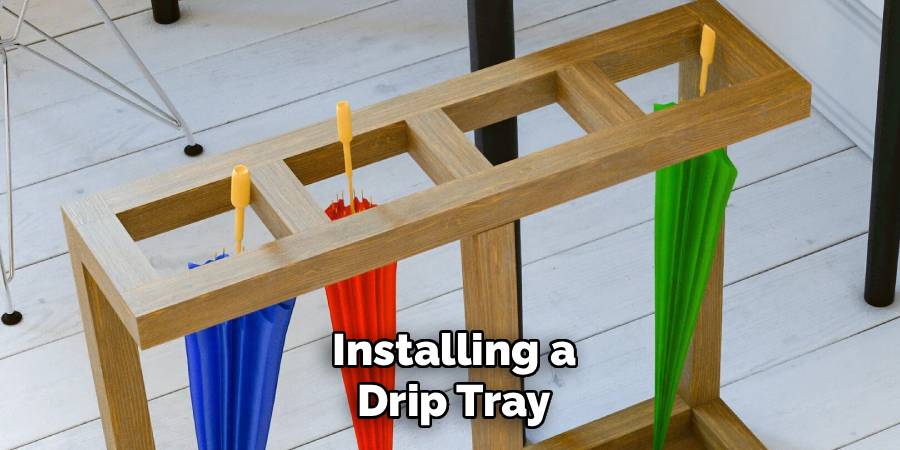
A removable drip tray at the base protects the wood from water damage. Cut a tray to fit snugly inside the bottom of the stand, using plywood or a waterproof material. Optionally, you can line the tray with a thin metal sheet or plastic to enhance water resistance. Ensure the tray slides in and out easily for cleaning. A drip tray is an essential feature that extends the life of the stand and keeps floors dry, making the stand more practical for everyday use.
8. Sanding and Finishing the Assembled Stand
Once the stand is assembled, sand the entire piece to smooth joints, edges, and surfaces. Pay particular attention to corners and divider edges to prevent splinters. After sanding, apply a wood finish such as varnish, polyurethane, or wood oil to protect the stand from moisture and enhance its natural beauty. Multiple coats may be applied, sanding lightly between each coat for a polished finish. A high-quality finish improves durability and gives the umbrella stand a professional, attractive appearance.

9. Adding Decorative Features
Decorative features such as carved edges, routed trim, or painted accents can elevate the aesthetic of your umbrella stand. Use a router, chisels, or sandpaper to create these details before applying the final finish. Decorative cutouts or patterns on the sides can also serve functional purposes, such as ventilation to help dry wet umbrellas. Thoughtful decorative elements allow you to customize the stand to match your entryway décor, combining practicality with style.
10. Final Inspection and Placement
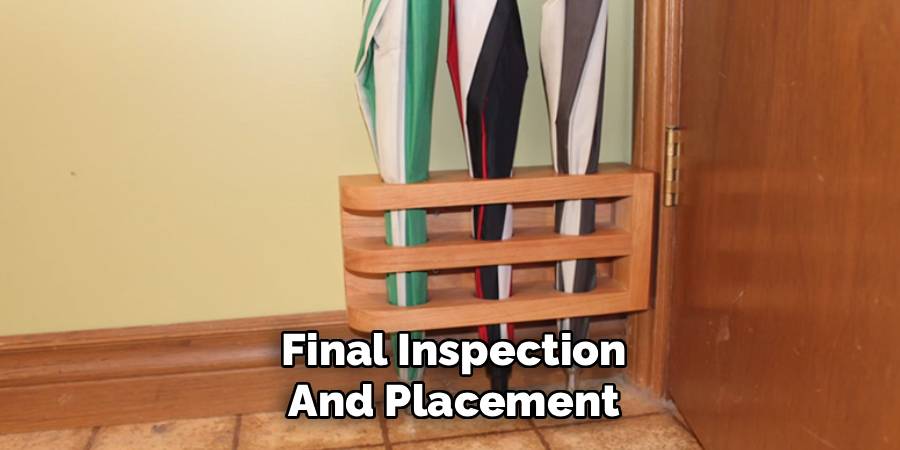
Before using the stand, conduct a final inspection. Ensure all joints are secure, surfaces are smooth, and the drip tray fits properly. Check for any uneven edges or loose components. Once satisfied, place the stand in your desired location, ensuring it is level and stable. Load a few umbrellas to test its functionality and adjust as needed. Regular maintenance, such as wiping excess water and checking for wear, will prolong the life of your wooden umbrella stand, keeping it both practical and visually appealing for years.

Maintenance and Upkeep
Proper maintenance is essential to ensure your wooden umbrella stand remains in excellent condition. Regularly clean the stand using a damp cloth to remove dirt, dust, and water stains. Avoid using harsh cleaning agents that could damage the wood finish. If your stand has a protective varnish or coating, periodically inspect it for signs of wear, and consider reapplying the finish to protect against moisture and scratches.
Check the drip tray for any buildup of water, as prolonged exposure can lead to warping or mold growth. Additionally, periodically tighten any loose screws or joints to maintain the stability and durability of the stand. With consistent care, your wooden umbrella stand will retain its functionality and elegance over time.
Safety Considerations
When using a wooden umbrella stand, safety should remain a priority. Ensure that the stand is placed on a flat and stable surface to prevent it from tipping over, especially in high-traffic areas or homes with pets and children. Avoid overloading the stand with umbrellas beyond its intended capacity, as this could compromise its stability or cause damage.
If the stand features sharp edges or corners, consider using protective padding to minimize the risk of injury. Furthermore, keep the stand away from heating sources or direct sunlight for prolonged periods, as excessive heat can weaken the wood or cause it to crack. By adhering to these safety measures, you can ensure a secure and practical addition to your space.
Conclusion
Building a wooden umbrella stand is a project that combines craftsmanship, design, and functional utility. By following these ten detailed methods—from planning and selecting wood to assembling, finishing, and adding decorative touches—you can create a durable, elegant piece that enhances any entryway. Each step emphasizes precision and care, ensuring that the final product is both practical and visually pleasing. Now that you know how to build a wooden umbrella stand, try it yourself today and feel good about completing such a big DIY job!
About
Team Woodlix is a distinguished figure in the world of Diy design, with a decade of expertise creating innovative and sustainable Diy solutions. His professional focus lies in merging traditional craftsmanship with modern manufacturing techniques, fostering designs that are both practical and environmentally conscious. As the author of diy, Woodlix delves into the art and science of furniture-making, inspiring artisans and industry professionals alike.
Education RMIT University
(Melbourne, Australia) Associate Degree in Design (Team Woodlix) Focus on sustainable design, industry-driven projects, and practical craftsmanship. Gained hands-on experience with traditional and digital manufacturing tools, such as CAD and CNC software.
Nottingham Trent University
(United Kingdom) Bachelor’s in diyfastly.com and Product Design (Honors) Specialized in product design with a focus on blending creativity with production techniques. Participated in industry projects, working with companies like John Lewis and Vitsoe to gain real-world insights.
Publications and Impact
In diy, Team Woodlix his insights on indoor design processes, materials, and strategies for efficient production. His writing bridges the gap between artisan knowledge and modern industry needs, making it a must-read for both budding designers and seasoned professionals.
