Discovering large holes in rotted wood can feel overwhelming, but with the right approach, you can restore your wood surfaces to their former strength and beauty. Whether you’re dealing with damaged deck boards, window frames, or furniture pieces, filling rotted wood holes is a manageable DIY project that saves money and extends the life of your wooden structures.
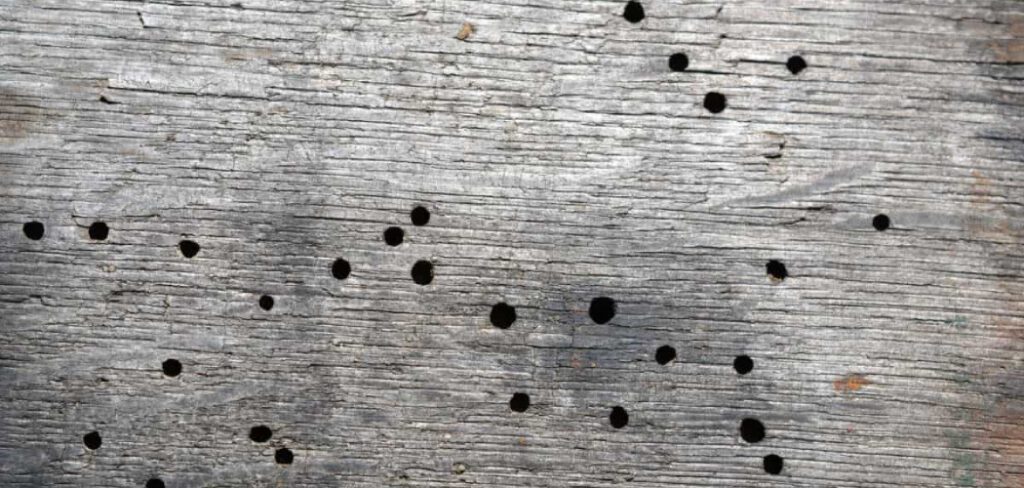
The key to success lies in proper preparation, choosing the right materials, and following a systematic approach. This comprehensive guide on how to fill large holes in rotted wood will walk you through everything you need to know to tackle even the most challenging rotted wood repairs with confidence.
Tools and Materials You’ll Need
Before starting your wood repair project, gather these essential items:
Tools:
- Chisel Set (Various Sizes)
- Hammer or Mallet
- Drill With Bits
- Sandpaper (80, 120, and 220 Grit)
- Putty Knife or Palette Knife
- Wire Brush
- Vacuum or Compressed Air
- Safety Glasses and Dust Mask
Materials
- Wood Hardener/consolidant
- Two-part Epoxy Wood Filler
- Wood Preservative
- Primer
- Paint or Wood Stain
- Clean Rags
- Plastic Sheeting
8 Simple Step-By-Step Guidelines on How to Fill Large Holes in Rotted Wood
Step 1: Assess the Damage and Remove Loose Material
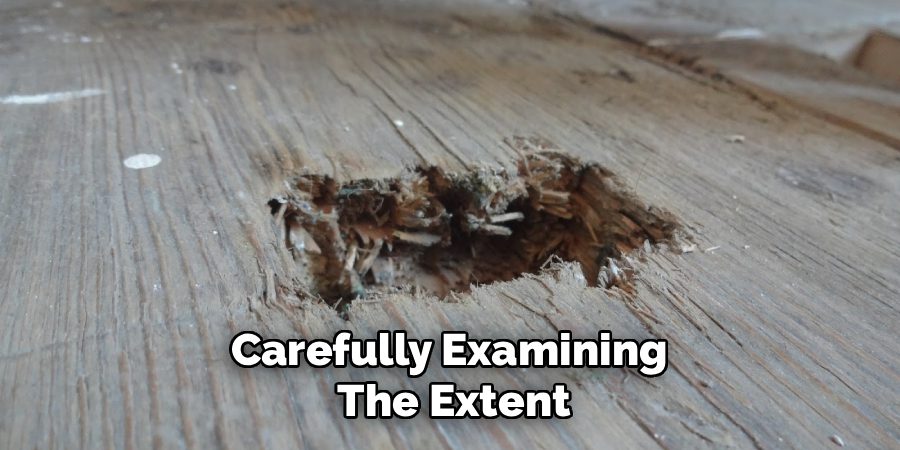
Start by carefully examining the extent of the rot damage to determine if the wood can be salvaged or needs complete replacement. Use a screwdriver or awl to probe the wood around the hole – sound wood will feel firm, while rotted wood will feel soft and spongy. Mark the boundaries of the damaged area with a pencil to guide your repair work.
Remove all loose, crumbling, and soft rotted wood using a chisel, hammer, and wire brush. Work systematically from the outside of the damage toward the center, being careful not to remove sound wood. Clean out all debris, dirt, and loose particles from the hole using a vacuum or compressed air. The remaining wood should feel solid and show no signs of active decay.
Step 2: Create Clean, Defined Edges
Use sharp chisels to create clean, straight edges around the hole, removing any feathered or irregular wood fibers that could prevent proper adhesion. The goal is to create a well-defined cavity with sound wood on all sides. Make the edges slightly undercut (angled inward) to help the mechanical bonding of the filler material.
Sand the edges of the hole and the surrounding area with 80-grit sandpaper to create a rough surface that will help the repair materials adhere properly. Remove all sanding dust with a vacuum or tack cloth. The prepared surface should be clean, dry, and free from any oils, wax, or previous finishes that might interfere with bonding.
Step 3: Apply Wood Hardener to Strengthen Surrounding Wood
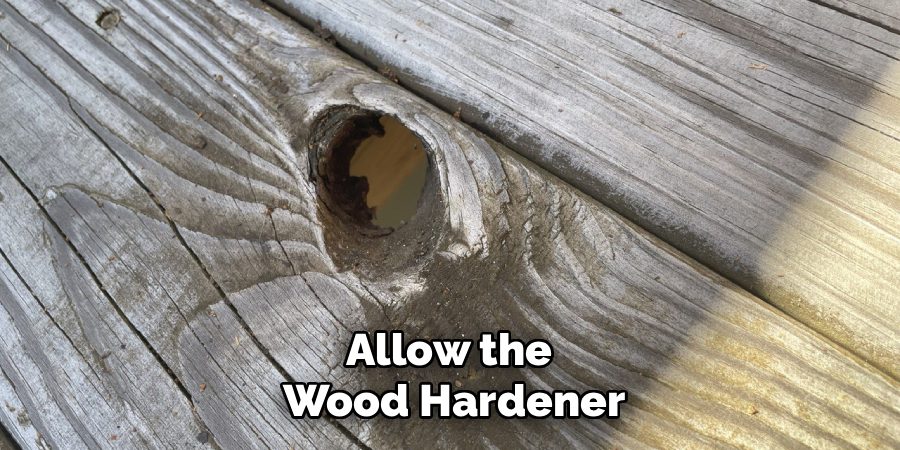
Brush or spray wood hardener liberally onto all exposed wood surfaces in and around the hole, paying special attention to any areas that feel slightly soft or questionable. This penetrating consolidant will strengthen weakened wood fibers and create a solid foundation for your repair. Work the hardener into the wood grain using a brush or cloth.
Allow the wood hardener to penetrate according to the manufacturer’s instructions, typically 2-4 hours depending on temperature and humidity. The treated wood should feel noticeably harder and more solid when cured. Apply a second coat if the first application soaks in completely, indicating the wood was very porous or damaged.
Step 4: Mix and Apply the First Layer of Epoxy Filler
Prepare your two-part epoxy wood filler according to the manufacturer’s instructions, mixing only what you can use within the working time (usually 10-20 minutes). Use a clean mixing surface and tools to avoid contamination. Mix thoroughly until you achieve a uniform color and consistency without streaks.
Apply the first layer of epoxy filler using a putty knife, working it firmly into the hole to eliminate air pockets and ensure good contact with all surfaces. Don’t attempt to fill the entire hole in one application – instead, build up the repair in layers. The first layer should fill about half the hole depth and be slightly below the final surface level to allow for additional layers.
Step 5: Build Up Additional Layers as Needed
Once the first layer has cured but is still slightly tacky (usually 1-2 hours), apply subsequent layers of epoxy filler. This timing ensures good inter-layer bonding without the need for sanding between coats. Continue building up the repair material until it’s slightly proud of the surrounding wood surface.
Work each layer thoroughly into the previous one, maintaining good contact and eliminating any air bubbles that could weaken the repair. For very deep holes, you may need to apply 3-4 layers, allowing each to partially cure before adding the next. The final layer should extend about 1/8 inch above the surrounding wood surface to allow for final shaping.
Step 6: Shape and Contour the Repair
After the epoxy has fully cured (typically 4-6 hours), use coarse sandpaper (80-grit) to roughly shape the repair to match the surrounding wood contours. Work carefully to avoid sanding into the good wood around the repair. A sanding block or power sander can speed this process for large repairs.
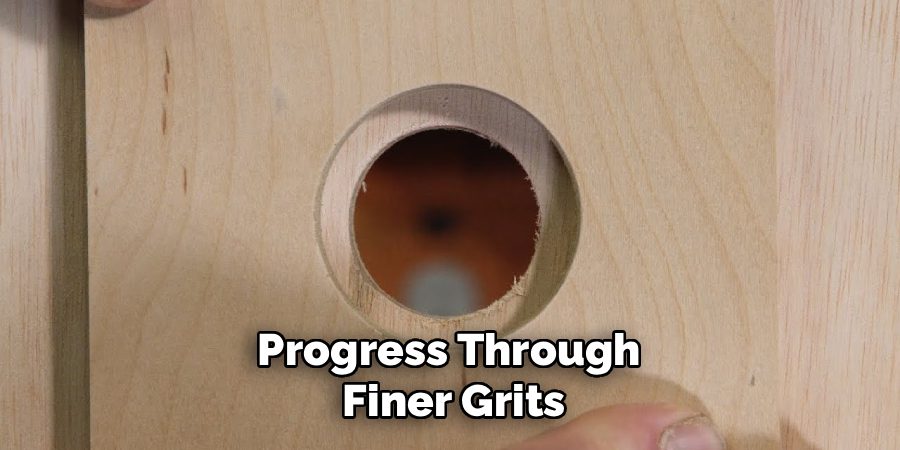
Progress through finer grits (120, then 220) to achieve a smooth finish that blends seamlessly with the surrounding wood. Pay attention to matching any existing wood grain patterns or surface textures. The completed repair should be flush with the surrounding surface and nearly invisible to the touch.
Step 7: Apply Wood Preservative for Long-term Protection
Clean all dust from the repair area and apply a high-quality wood preservative to the entire repaired section and surrounding wood. This step is crucial for preventing future rot and extending the life of your repair. Use a brush or spray to ensure complete coverage, working the preservative into the wood grain.
Allow the preservative to dry completely according to the manufacturer’s instructions before proceeding with any finishing steps. Some preservatives may require multiple coats or specific drying times between applications. This treatment creates a barrier against moisture and fungal attack that caused the original damage.
Step 8: Prime and Finish the Repaired Area
Apply a high-quality primer specifically designed for wood surfaces, ensuring complete coverage of the repair and surrounding area. The primer seals the wood and provides a uniform base for your final finish. Use thin, even coats and allow proper drying time between applications.
Complete the project by applying your chosen finish – paint, stain, or clear coating – to match the surrounding wood. Apply multiple thin coats rather than one thick coat for the best appearance and durability. The finished repair should blend invisibly with the original wood, showing no signs of the previous damage when properly executed.
Following these steps on how to fill large holes in rotted wood will ensure a strong and durable repair that will last for years to come. It is important to keep in mind that prevention is always the best solution when it comes to rotted wood. Regularly inspecting and maintaining any wooden structures on your property can prevent rot from occurring in the first place.
Safety Tips
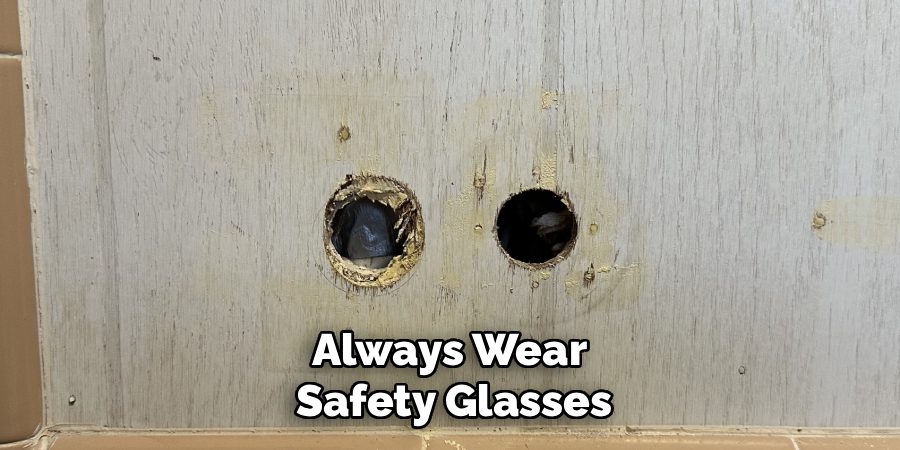
Always wear safety glasses and a dust mask when sanding, drilling, or removing rotted wood to protect against flying debris and harmful particles. Work in a well-ventilated area when using chemical wood hardeners, preservatives, and epoxy fillers, as these products can release toxic fumes that are harmful if inhaled over extended periods.
Keep your workspace clean and organized to prevent accidents and ensure you have easy access to all tools and materials. Use proper lifting techniques when handling heavy wood pieces, and ensure your work surface is stable and secure before beginning any repair work. Never rush the process – allowing proper cure times between steps is essential for a lasting repair that won’t fail prematurely.

Common Mistakes to Avoid
Don’t skip the wood hardener step, as this crucial treatment strengthens the surrounding wood and prevents the repair from failing at the edges. Avoid mixing too much epoxy filler at once – it’s better to make multiple small batches than to waste material that cures before you can use it. Never apply filler over wet or contaminated surfaces, as this will prevent proper adhesion and lead to repair failure. Resist the temptation to fill large holes in a single application, as this often results in air pockets and weak spots that compromise the repair’s integrity. Finally, don’t neglect the finishing steps – proper sealing and protection are essential for preventing future rot and maintaining your repair’s longevity.
Frequently Asked Questions
Q1: How Deep Can A Hole Be Before The Wood Needs Complete Replacement?
Generally, if more than 75% of the wood’s cross-sectional area is damaged or if the structural integrity is compromised, complete replacement is the better option. For non-structural elements like trim or siding, you can successfully fill holes up to several inches deep using the layered epoxy technique. The key factors to consider are the remaining wood’s soundness and whether the piece still provides adequate structural support for its intended purpose.
However, if you’re dealing with load-bearing elements like joists or beams, consult a structural engineer when damage exceeds 25% of the cross-section. Safety should always be your primary concern when evaluating whether to repair or replace damaged structural wood members.
Q2: Can I Use Regular Wood Putty Instead Of Epoxy Filler For Large Holes?
Traditional wood putty is not suitable for large holes because it lacks the structural strength and adhesion properties needed for substantial repairs. Wood putty is designed for small nail holes and minor imperfections, not for filling significant voids in rotted wood. Epoxy wood fillers cure to form a material that’s actually stronger than the original wood, making them ideal for structural repairs.
Additionally, most wood putties are not waterproof and will absorb moisture over time, potentially leading to further rot issues. Two-part epoxy systems provide superior durability, weather resistance, and long-term performance that make them worth the extra cost for major repairs.
Q3: How Long Should I Wait Between Applying Wood Hardener And Epoxy Filler?
You should allow the wood hardener to cure completely before applying epoxy filler, which typically takes 2-4 hours under normal conditions but can extend to 24 hours in cool or humid weather. The treated wood should feel noticeably harder and no longer tacky to the touch when properly cured. Rushing this step can result in poor adhesion and repair failure.
Some manufacturers specify exact timing in their instructions, so always follow the product guidelines for your specific materials. Testing a small, inconspicuous area first can help you gauge proper cure times for your specific conditions and ensure optimal results for the main repair.
Q4: What’s The Best Way To Match Wood Grain Texture In The Repair?
After the epoxy has cured but before final sanding, you can create artificial wood grain using various techniques depending on the surrounding wood’s characteristics. For simple grain patterns, draw lines with a sharp tool or use a wire brush to create texture while the epoxy is still slightly soft. For more complex patterns, you can press actual wood pieces into the surface to transfer their grain pattern.
Another effective technique involves using specialized wood-graining tools or combs available at paint stores, which can create convincing grain patterns when dragged through the semi-cured epoxy. The key is to work quickly while the material is still workable and to practice your technique on a test piece first to achieve the best results.
Conclusion
Successfully filling large holes in rotted wood requires patience, the right materials, and attention to detail, but the results are well worth the effort. By following these step-by-step guidelines on how to fill large holes in rotted wood and avoiding common mistakes, you can achieve professional-quality repairs that will last for years to come. Remember that proper preparation and allowing adequate cure times between steps are crucial for creating a strong, durable repair that stands the test of time.
With practice, you’ll develop the skills and confidence to tackle even challenging wood restoration projects, saving money while preserving the beauty and functionality of your wooden structures and furnishings.
About
Team Woodlix is a distinguished figure in the world of Diy design, with a decade of expertise creating innovative and sustainable Diy solutions. His professional focus lies in merging traditional craftsmanship with modern manufacturing techniques, fostering designs that are both practical and environmentally conscious. As the author of diy, Woodlix delves into the art and science of furniture-making, inspiring artisans and industry professionals alike.
Education RMIT University
(Melbourne, Australia) Associate Degree in Design (Team Woodlix) Focus on sustainable design, industry-driven projects, and practical craftsmanship. Gained hands-on experience with traditional and digital manufacturing tools, such as CAD and CNC software.
Nottingham Trent University
(United Kingdom) Bachelor’s in diyfastly.com and Product Design (Honors) Specialized in product design with a focus on blending creativity with production techniques. Participated in industry projects, working with companies like John Lewis and Vitsoe to gain real-world insights.
Publications and Impact
In diy, Team Woodlix his insights on indoor design processes, materials, and strategies for efficient production. His writing bridges the gap between artisan knowledge and modern industry needs, making it a must-read for both budding designers and seasoned professionals.
