A wooden mallet is an essential tool for any woodworker or DIY enthusiast. Unlike metal hammers, wooden mallets are designed to shape wood without causing damage to the surface or material. They are commonly used for driving chisels, assembling joints, and performing tasks that require precise and controlled force. Crafting your own wooden mallet not only provides you with a functional tool but also allows you to hone your woodworking skills and create a unique, personalized item.
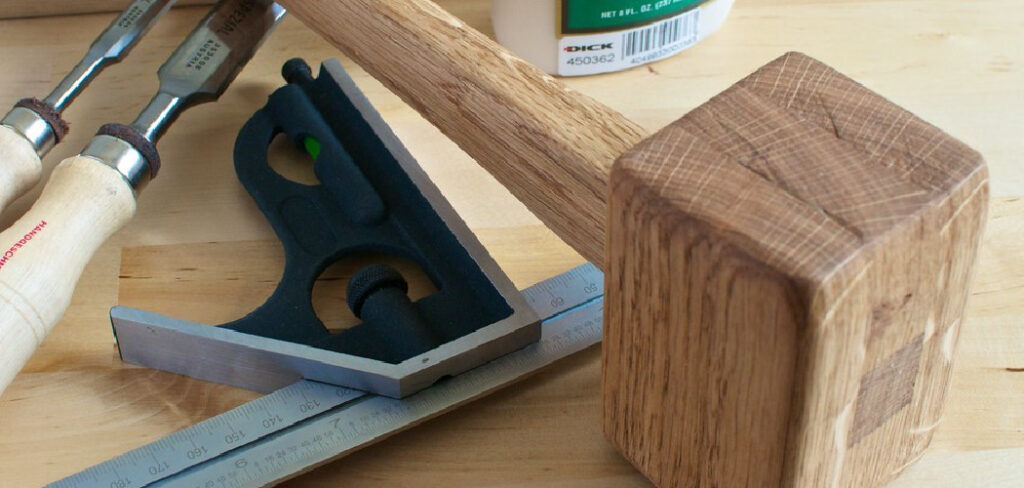
This guide on how to make a wooden mallet will walk you through the steps to make a sturdy and reliable wooden mallet.
Choosing the Right Wood
Selecting the appropriate wood for your mallet is a crucial step in ensuring its durability and functionality. Hardwood is generally the best choice due to its strength and resistance to wear. Popular options include oak, maple, or ash, as these types of wood offer a good balance of hardness and workability.
Avoid softwoods like pine or cedar, as they are more prone to denting and may not provide the sturdy performance needed for a reliable mallet. Additionally, it’s essential to consider the grain orientation and avoid pieces with significant knots or defects, as these may weaken the overall structure. Opting for seasoned or kiln-dried wood is also recommended, as it reduces the risk of warping or splitting over time. Taking the time to choose the right wood will set the foundation for a high-quality and long-lasting mallet.
Tools and Materials Needed
- Wood (Blocks for Head and Handle)
- Handsaw or Miter Saw
- Chisel
- Drill and Bits (for Optional Dowel Joints or Wedges)
- Clamps
- Wood Glue
- Sandpaper or Sander
- Optional: Mallet Plans or Template
6 Simple Step-by-step Guidelines on How to Make a Wooden Mallet
Step 1: Choose the Type of Wood
The first step in making a wooden mallet is selecting the right type of wood. Hardwood is generally preferred because of its durability and resistance to wear. Species such as maple, oak, or hickory are excellent choices for crafting a sturdy mallet.
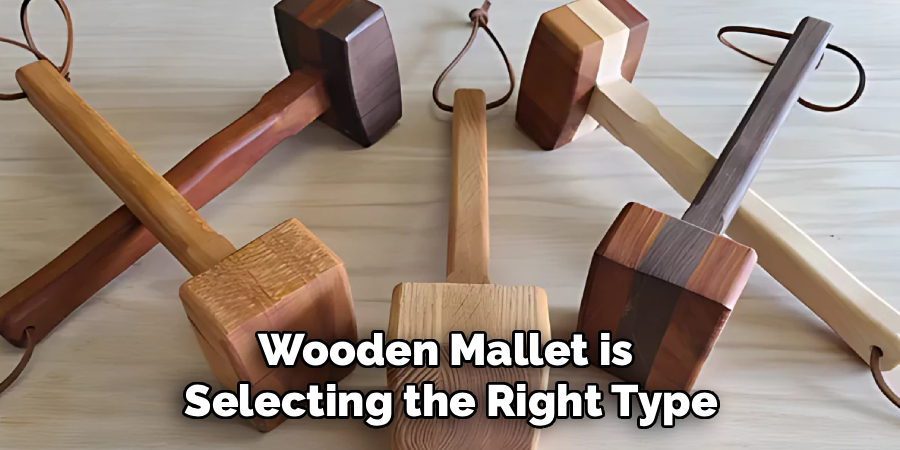
For lighter mallets, softer woods like pine or poplar may be used, but they may not last as long under heavy use. Ensure that the wood is kiln-dried to minimize moisture content, which will help prevent cracking or warping over time. Consider the weight, grain pattern, and overall condition of the wood to ensure it will meet your project’s needs.
Step 2: Shaping and Finishing
Once you have selected the appropriate wood, the next step is shaping the mallet to meet your specifications. Begin by marking the desired dimensions on the wood using a pencil and a ruler. Use a saw to cut the wood to size, and then employ a chisel or rasp to create the handle and head shape. Ensure the handle is smooth and ergonomic, as this will provide a comfortable grip during use.
After achieving the desired shape, sand the entire surface of the mallet with progressively finer sandpaper to eliminate rough edges and splinters. This step is crucial for both functionality and aesthetics. Finally, apply a finish such as linseed oil, beeswax, or wood varnish to protect the wood and enhance its natural beauty. Allow the finish to dry completely before handling the mallet to ensure durability and a polished look.
Step 3: Assembling the Mallet
To assemble the mallet, begin by attaching the handle to the mallet head. Ensure that the handle fits securely into the pre-cut slot or hole in the head. If the fit is loose, use wood glue or epoxy adhesive to create a stronger bond. Apply the glue evenly to the contact surfaces, then insert the handle, making sure it is aligned properly.
Allow the glue to cure as per the manufacturer’s instructions to ensure a durable joint. For added stability, you can insert a wooden wedge into the handle slot and tap it into place with a hammer. This will expand the handle slightly, ensuring a tight and secure fit. Once the assembly is complete, inspect the mallet for any potential gaps or loose parts, and make necessary adjustments. Your mallet is now ready for use!
Step 4: Sanding and Sealing
Once the mallet assembly is complete, the next step is to sand and seal it for a smooth finish and prolonged durability. Begin by using medium-grit sandpaper to remove any rough edges or uneven surfaces on the handle and head. Gradually switch to finer-grit sandpaper to achieve a polished look. Pay close attention to areas that will be frequently handled, ensuring they are comfortable and free of splinters.
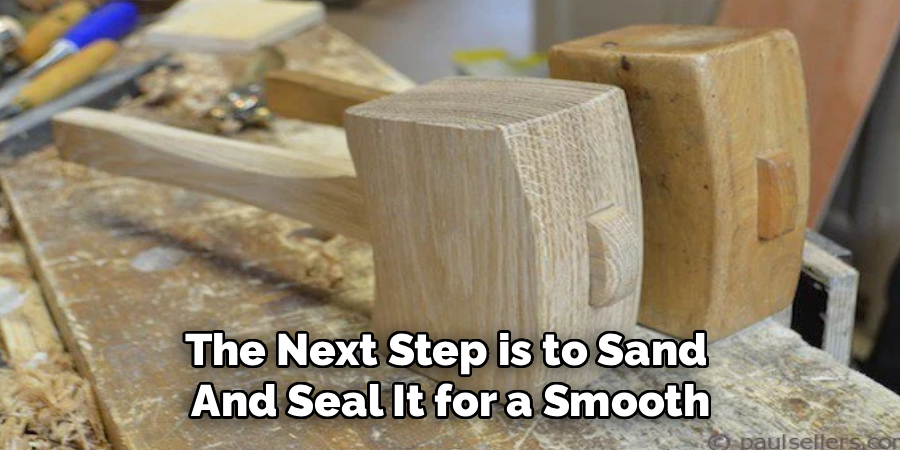
After sanding, apply a wood sealant or finish of your choice, such as oil, wax, or varnish, to protect the mallet from moisture and wear. Use a clean cloth or brush to apply the sealant evenly, working along the grain of the wood. Allow the finish to dry completely before applying additional coats as needed. This step not only enhances the appearance of the mallet but also ensures its longevity. Once the sealing process is complete and the finish is fully dry, your mallet is ready for action!
Step 5: Adding Personal Touches
To make your mallet truly unique, consider adding some personal touches. You can carve your initials, a custom design, or a pattern into the handle or head of the mallet using a wood-burning tool or carving knife. For a splash of color, apply non-toxic paint or stain to certain sections, making sure to complement the natural wood tones.
Another option is to wrap the handle with leather or cord for improved grip and a stylish finish. These customizations not only add character to your mallet but also make it a reflection of your individual craftsmanship.
Step 6: Maintaining Your Mallet
To ensure the longevity and durability of your mallet, proper maintenance is crucial. Keep it clean and dry when not in use, and periodically check for any cracks or damage that may need to be repaired. If using for woodworking projects, sharpening the edges of the head may also be necessary over time.
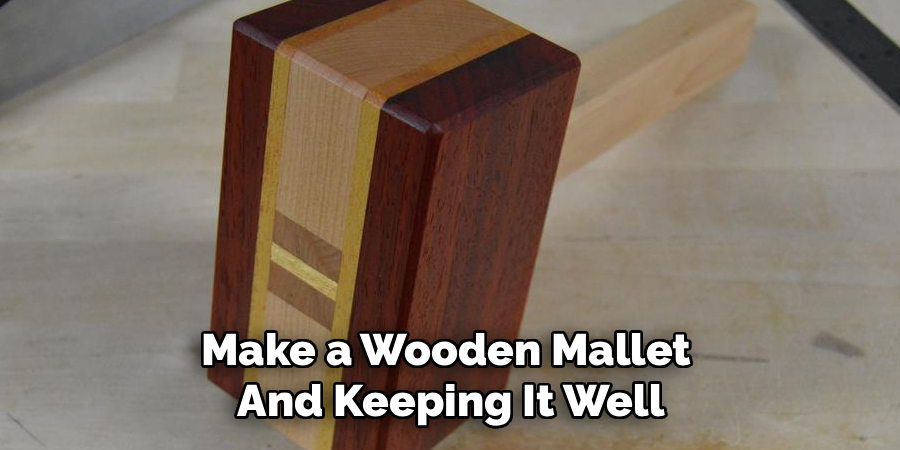
Following these steps on how to make a wooden mallet and keeping it well-maintained will guarantee a reliable tool for all your woodworking needs.
Additional Tips
- Experiment with different wood types to find the one that best suits your preferences.
- Customize the size and weight of your mallet to fit your specific needs.
- Consider adding decorative elements, such as carving or painting, to personalize your mallet.
- Don’t be afraid to make mistakes and learn from them. Woodworking is a skill that takes time and practice to master.
- When not in use, store your mallet in a dry place away from direct sunlight to prevent warping.
- Regularly inspect and maintain the handle of your mallet, ensuring it is securely attached and free of splinters.
- Consider making multiple wooden mallets with different sizes or shapes for different tasks.
- Support small, local businesses by purchasing wood from a nearby lumberyard instead of buying pre-cut pieces at bigger retail stores.
- Use safety equipment, such as gloves and goggles, when working with a wooden mallet.
Frequently Asked Questions
Q1: Can I Use Any Type of Wood for My Wooden Mallet?
A1: Generally, hardwoods such as maple, oak, and beech are recommended for making a wooden mallet due to their strength and durability. However, you can also experiment with other types of wood, such as cherry or walnut, as long as they are strong enough to withstand repeated use.
Q2: Can I Make a Wooden Mallet Without Any Power Tools?
A2: Absolutely! While power tools can make the process faster and easier, it is possible to make a wooden mallet using only hand tools like chisels, saws, and sandpaper. This may take more time and effort, but the end result will still be a functional and unique wooden mallet.
Q3: How Do I Maintain My Wooden Mallet?
A3: To keep your wooden mallet in good condition, it’s important to regularly clean and oil the wood. You can use a mixture of mineral oil and beeswax to nourish the wood and protect it from drying out or cracking. Additionally, make sure to store your mallet in a dry place to avoid any warping or damage.
Q4: Can I Customize My Wooden Mallet?
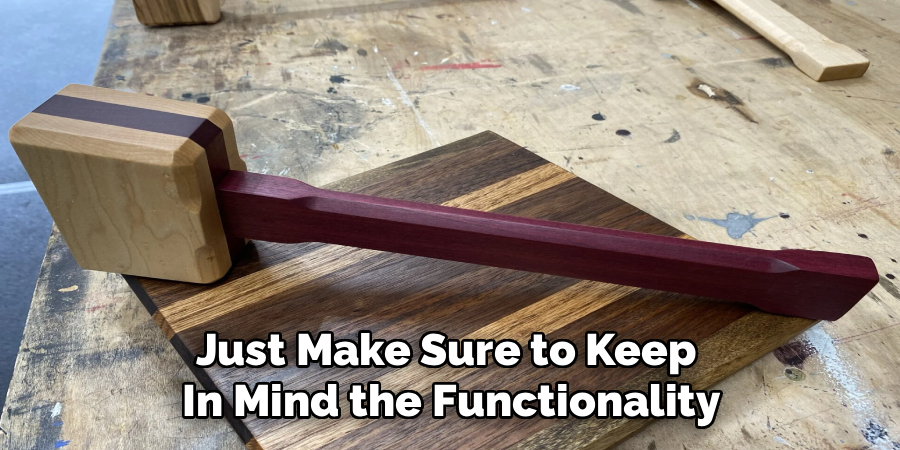
A4: Absolutely! One of the great things about making your own wooden mallet is that you have the opportunity to customize it however you like. You can choose different types of wood for the handle and head, add decorative details, or even carve your name into it. Get creative and make a unique wooden mallet that reflects your personal style and preferences. Just make sure to keep in mind the functionality and balance of the mallet when making any customizations.
Conclusion
Creating your own wooden mallet can be a rewarding and useful project for both beginner and experienced woodworkers alike. With just a few simple steps on how to make a wooden mallet, you can have a functional tool that is customized to your liking. Whether it’s for woodworking or other activities, a wooden mallet is a versatile tool that can come in handy for various tasks.
By following the tips and precautions mentioned above, you can ensure a safe and efficient project while also supporting small businesses in your community. So why not give it a try and add this useful tool to your collection? Happy crafting!
About
Team Woodlix is a distinguished figure in the world of Diy design, with a decade of expertise creating innovative and sustainable Diy solutions. His professional focus lies in merging traditional craftsmanship with modern manufacturing techniques, fostering designs that are both practical and environmentally conscious. As the author of diy, Woodlix delves into the art and science of furniture-making, inspiring artisans and industry professionals alike.
Education RMIT University
(Melbourne, Australia) Associate Degree in Design (Team Woodlix) Focus on sustainable design, industry-driven projects, and practical craftsmanship. Gained hands-on experience with traditional and digital manufacturing tools, such as CAD and CNC software.
Nottingham Trent University
(United Kingdom) Bachelor’s in diyfastly.com and Product Design (Honors) Specialized in product design with a focus on blending creativity with production techniques. Participated in industry projects, working with companies like John Lewis and Vitsoe to gain real-world insights.
Publications and Impact
In diy, Team Woodlix his insights on indoor design processes, materials, and strategies for efficient production. His writing bridges the gap between artisan knowledge and modern industry needs, making it a must-read for both budding designers and seasoned professionals.
