Creating a wooden sword can be a fun and rewarding project for both beginners and experienced crafters. Whether it’s for cosplay, decoration, or backyard sparring, a wooden sword is a safe and lightweight alternative to metal.
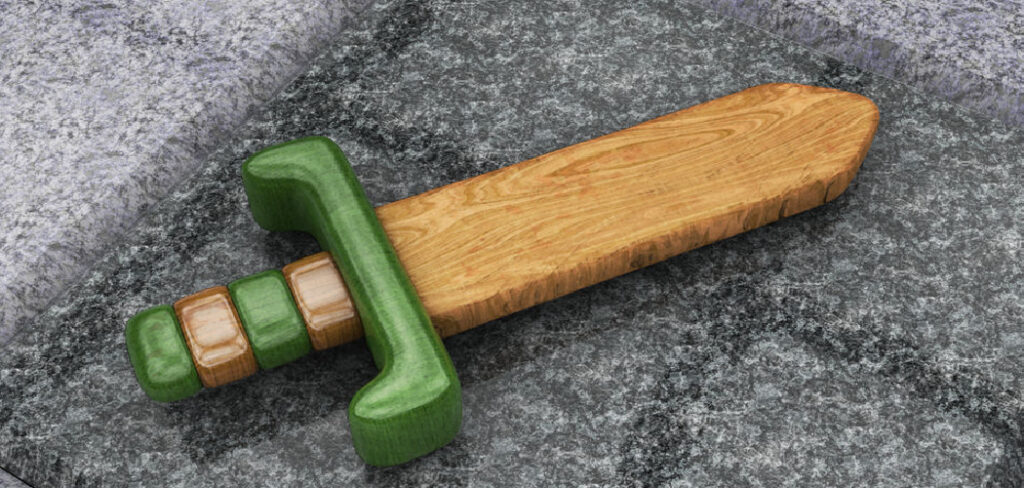
This guide on how to make a wooden sword will walk you through the process step by step, ensuring you have all the materials, tools, and tips needed to craft a durable and visually appealing wooden sword.
Choosing the Right Type of Wood
Selecting the right type of wood is crucial to creating a sturdy and visually pleasing wooden sword. Ideally, you want a wood that is both lightweight and strong, ensuring the sword is easy to handle while still being durable. Hardwoods like oak, maple, or hickory are excellent choices due to their strength and resistance to wear and tear.
However, if you’re looking for a more beginner-friendly or inexpensive option, pine or poplar can work well, though they are not as tough as hardwoods. Additionally, consider the grain and texture of the wood, as a smooth, straight grain will make carving and sanding much easier. Keep in mind that denser woods may require more effort to shape but will result in a longer-lasting final product.
Tools and Materials Needed
- Saw (Handsaw, Jigsaw, or Bandsaw)
- Sandpaper (Various Grits) or Electric Sander
- Pencil and Measuring Tape
- Clamps
- Wood Glue (Optional, if Making a Two-piece Sword)
- File or Rasp
- Wood Stain or Paint (Optional for Finishing)
6 Simple Steps on How to Make a Wooden Sword
Step 1: Choose the Type of Wood
Selecting the right type of wood is crucial for creating a sturdy and durable wooden sword. For beginners, softer woods like pine or poplar are ideal because they are easier to cut and carve. If you prefer a more durable option, harder woods such as oak, maple, or walnut are excellent choices, though they require more effort to work with.
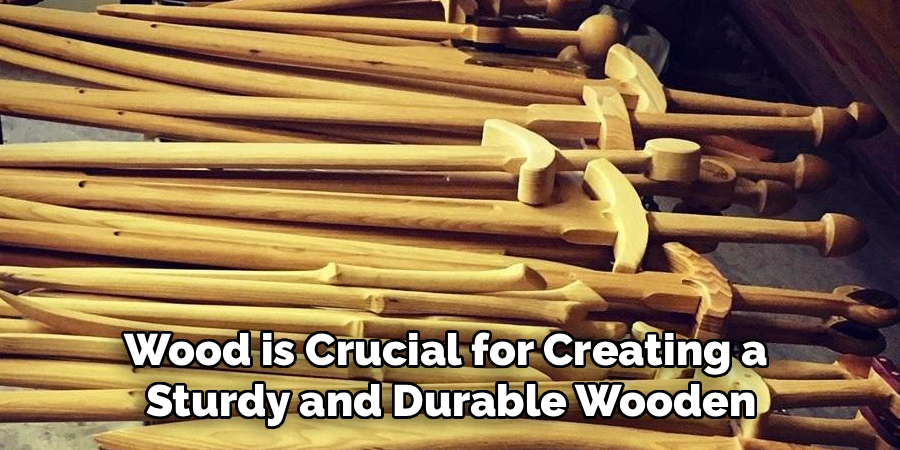
Ensure the wood piece is free of knots or cracks, as these can weaken the structure of the sword. A board that is around 1 to 2 inches thick and appropriately long for the desired sword size will provide a solid foundation for your project.
Step 2: Creating the Sword Template
Start by sketching the outline of your sword directly onto the wood or on a piece of paper to use as a template. Decide on the specific dimensions and style of your sword, such as a straight blade or curved edge, and include details like the handle, guard, and tip. If drawing by hand, use a ruler or straight edge to ensure clean, precise lines for the blade and symmetrical proportions.
For more intricate designs, you can find pre-made sword templates online to print out and trace onto the wood. Once your design is finalized, double-check the measurements to confirm they match your planned sword size before moving on to the next step.
Step 3: Cutting and Shaping the Sword
Next, it’s time to cut and shape the sword from the wood. You can use a saw or power tool to cut along the outlines of your design, but be sure to take caution and follow proper safety measures. Wear protective gear like goggles and gloves, and make sure you have a steady hand while cutting.
Once you have your basic shape cut out, use sandpaper or a sander to smooth out any rough edges and create a more defined shape for your sword. Take your time with this step as it will determine the overall look and feel of your finished product.
Step 4: Adding Details
After shaping your sword, it’s time to add some details to make it look more realistic. This step is where you can really get creative and make your sword unique. You can use a woodburner or a carving tool to etch designs into the wood, or even add metal accents for a more realistic touch.
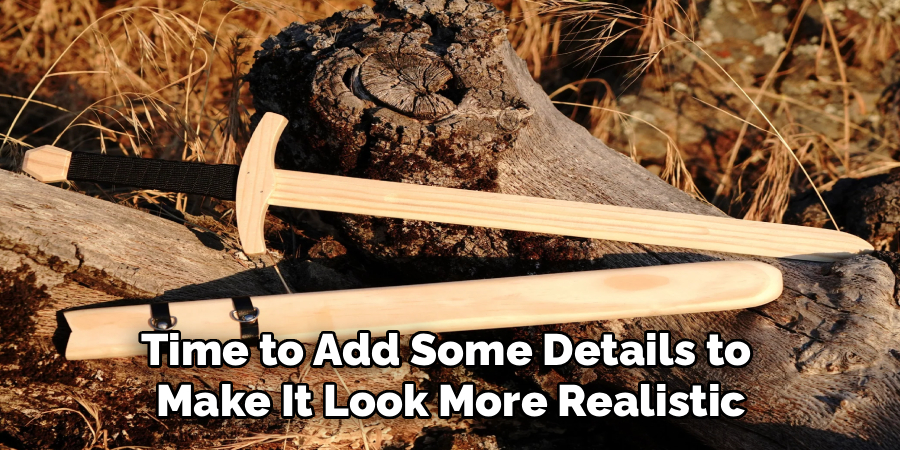
Another option for adding detail is to paint your sword using acrylic paints. This allows for even more creativity and customization, as you can choose any colors and designs you want.
Step 5: Sealing and Finishing
Once all the detailing is complete, it’s time to seal and finish your wooden sword. This step will not only protect your sword from wear and tear but also give it a polished look.
There are various options for sealing and finishing your sword, such as using a clear varnish or polyurethane spray. You can also use beeswax or mineral oil for a more natural finish.
Before applying any sealant, make sure to sand down the entire surface of your sword to ensure a smooth and even finish. Then, follow the instructions on your chosen sealant product and apply it evenly across the sword. Allow it to dry completely before moving on to the next step.
Step 6: Adding a Handle
To complete your wooden sword, you can add a handle for a more comfortable grip. This is especially important if you plan on using your sword for cosplay or LARPing.
There are various options for adding a handle, such as using leather, rope, or even fabric. You can also add decorative elements like beads or wrap the handle in colorful thread.
Following these steps on how to make a wooden sword can be fun and rewarding. Not only will you have a unique prop for your next costume or event, but you’ll also have the satisfaction of creating something with your own hands. So go forth and channel your inner swordsmith!
Additional Tips
- To make your wooden sword more durable, you can seal it with varnish or wood stain.
- If you want to add more detail to your sword, you can carve designs or symbols onto the blade and handle.
- Practice caution when handling sharp tools, such as a saw or knife, to avoid injury.
- You can also use sandpaper to smooth out any rough edges on your sword before painting or sealing it.
- If you want a more authentic look, you can research different sword designs from various cultures and time periods for inspiration.
- Don’t limit yourself to just making wooden swords, you can also use these steps to create other wooden props such as axes, spears, or shields.
- Remember to have fun and be creative with your designs!
Do You Need to Use Professionals?
While making wooden swords or other props can be a fun and creative DIY project, involving professionals may be beneficial in certain scenarios. If you require highly detailed or intricate designs, or if you want to ensure the utmost safety and durability, consulting a professional craftsperson or woodworker could be a wise choice.
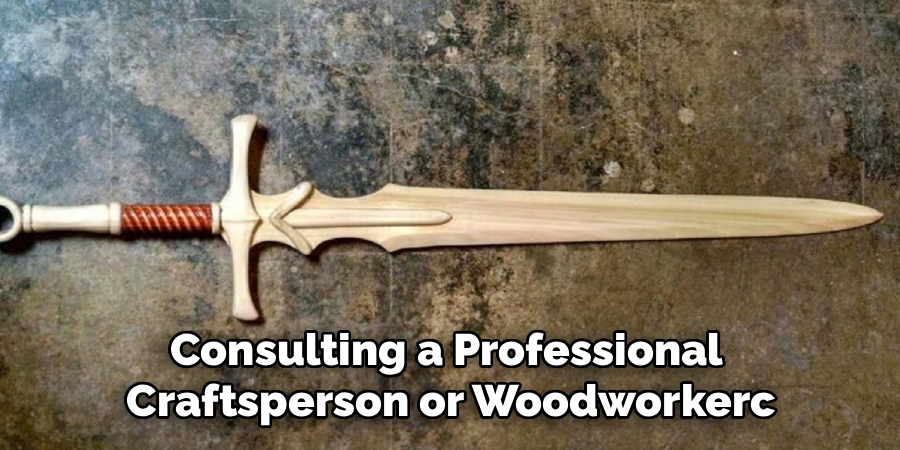
Professionals have the tools, skills, and expertise to create high-quality wooden props that meet specific standards. However, for most casual projects or personal use, the steps outlined above are usually sufficient for crafting your own unique designs. It ultimately depends on your goals and the level of precision you need for your project.
Frequently Asked Questions
Q: Can I Use a Different Type of Wood Besides Pine?
A: Yes, you can use any type of wood that is easily accessible and safe to work with. Just keep in mind that harder woods may be more difficult to shape and require more tools.
Q: Is It Necessary to Seal or Paint the Wooden Sword?
A: It’s not necessary, but it can help protect the wood and give it a more polished look. You can also leave it unfinished for a rustic or authentic appearance. It’s up to your personal preference.
Q: How Long Does It Take to Make a Wooden Sword?
A: The time it takes will vary depending on your skill level and the amount of detail you put into the design. However, it typically takes a few hours to complete a basic wooden sword.
Q: Can I Use Power Tools for this Project?
A: Yes, power tools can be used to speed up the process and make certain tasks easier. Just be sure to use them responsibly and with caution. It’s also important to note that using power tools may result in a less rustic look for your wooden sword.
Q: What Type of Wood Should I Use?
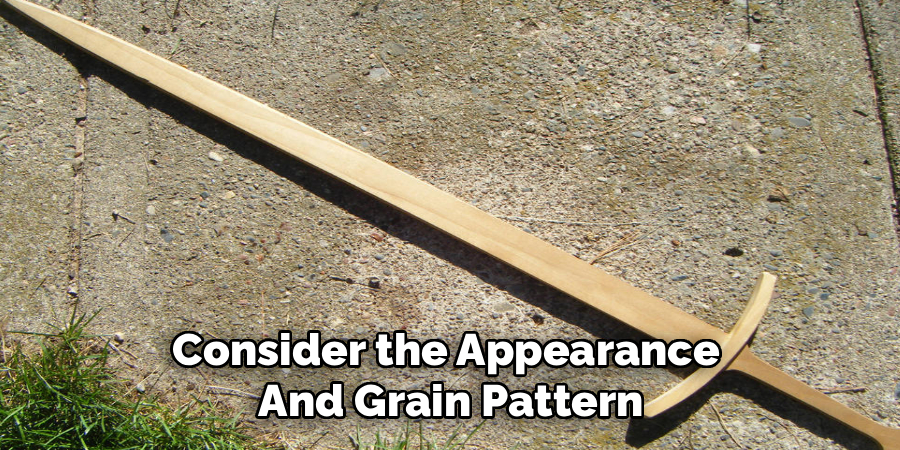
A: There are many types of wood that can be used for making a wooden sword, such as oak, poplar, pine, or ash. It ultimately depends on personal preference and availability. Just make sure the wood is strong and durable enough to withstand use as a weapon. Additionally, consider the appearance and grain pattern of the wood when choosing.
Conclusion
Making a wooden sword is a rewarding and creative project that allows you to craft something unique and personal. Whether you choose a simple design or a more intricate creation, the process itself is an excellent way to develop woodworking skills and explore your creativity.
Always prioritize safety when working with tools, and don’t hesitate to experiment with different techniques to achieve the look you desire. With patience and effort, you can create a piece that is both functional and visually appealing. Thanks for reading this article on how to make a wooden sword.
About
Team Woodlix is a distinguished figure in the world of Diy design, with a decade of expertise creating innovative and sustainable Diy solutions. His professional focus lies in merging traditional craftsmanship with modern manufacturing techniques, fostering designs that are both practical and environmentally conscious. As the author of diy, Woodlix delves into the art and science of furniture-making, inspiring artisans and industry professionals alike.
Education RMIT University
(Melbourne, Australia) Associate Degree in Design (Team Woodlix) Focus on sustainable design, industry-driven projects, and practical craftsmanship. Gained hands-on experience with traditional and digital manufacturing tools, such as CAD and CNC software.
Nottingham Trent University
(United Kingdom) Bachelor’s in diyfastly.com and Product Design (Honors) Specialized in product design with a focus on blending creativity with production techniques. Participated in industry projects, working with companies like John Lewis and Vitsoe to gain real-world insights.
Publications and Impact
In diy, Team Woodlix his insights on indoor design processes, materials, and strategies for efficient production. His writing bridges the gap between artisan knowledge and modern industry needs, making it a must-read for both budding designers and seasoned professionals.
