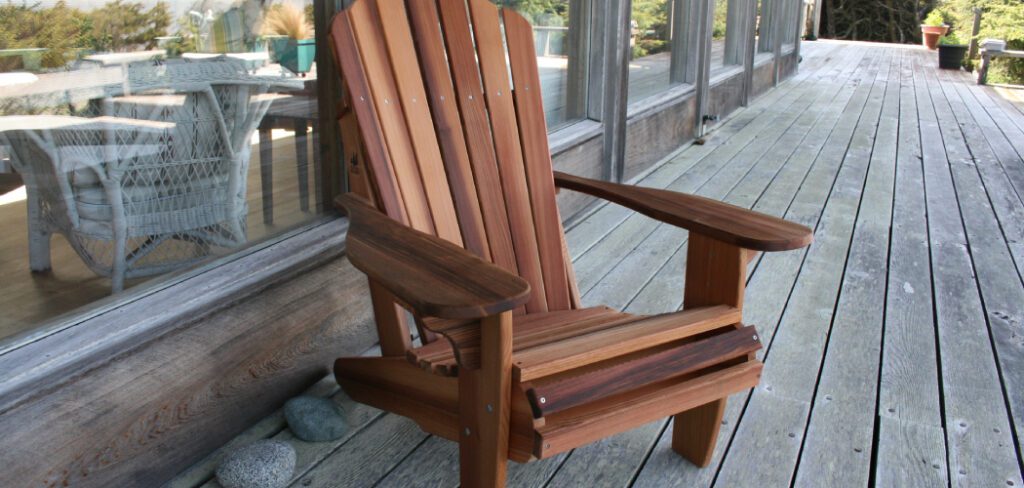
Transforming discarded wooden pallets into beautiful outdoor furniture is not only environmentally responsible, but it also offers substantial cost savings and creative satisfaction. If you’re looking for a hands-on weekend project that combines sustainability with the timeless charm of outdoor seating, learning how to make an Adirondack chair out of pallets is an excellent place to start.
Pallet furniture taps into the spirit of upcycling, making use of readily available materials that would otherwise end up in a landfill. Plus, Adirondack chairs are well-loved for their comfort and style, making them a practical addition to porches, decks, or gardens. This comprehensive guide will walk you through every step of the process—showing you how to select, prepare, and assemble pallets so you can build an Adirondack chair that’s durable, attractive, and one of a kind.

Understanding Pallet Wood and Selection
Before you start building, it’s critical to understand what makes some pallets suitable for furniture and others less so.
Types of Pallets and Their Suitability
Not all pallets are created equal. For any project involving furniture, especially one intended for outdoor use, you’ll want to work exclusively with heat-treated (HT) pallets. Heat treatment is a safe method used to kill pests and pathogens in wood, making it suitable for home projects. In contrast, some pallets are chemically treated with substances that may be hazardous; these should never be used for furniture. The International Plant Protection Convention (IPPC) stamp is your guide—look for “HT” stamped on the side of the pallet, which indicates it has been treated with heat only and is free from chemical preservatives.
Assessing Pallet Condition
Once you’ve confirmed the pallet is heat-treated, inspect its physical condition. Choose pallets that are structurally sound, free from rot, and lacking in significant stains or embedded debris. The boards should have minimal splits, cracks, or warped sections. Consistent thickness from board to board will make cutting and assembling your chair smoother and more accurate, minimizing complications down the line.
Where to Source Quality Pallets
Quality pallets can be found at many sources, including local warehouses, garden centers, and construction sites. Home improvement stores sometimes set aside undamaged pallets for free pickup. Always obtain permission before taking pallets from any property, and check local regulations if you plan to transport multiple pallets. Bringing a tape measure and a pair of gloves will help you quickly assess the suitability of pallets on the spot.
Tools and Additional Materials Needed
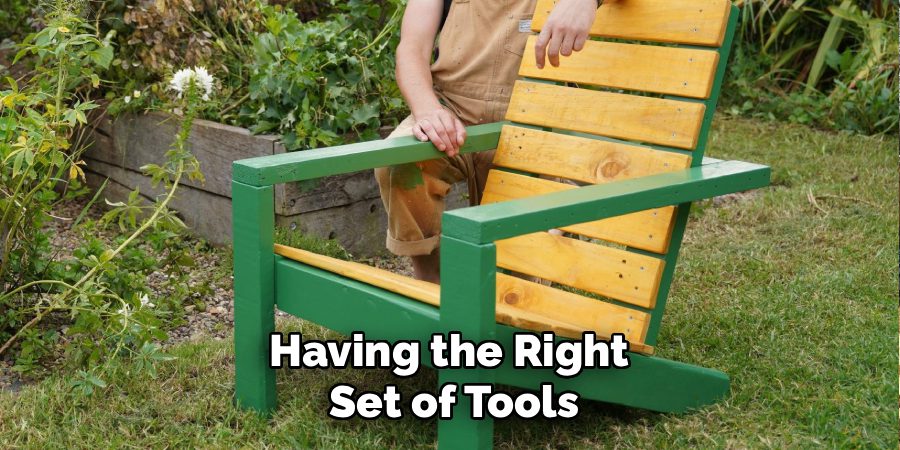
Having the right set of tools and materials ready before you begin will ensure a smooth and safe building process.

Essential Tools for the Project
For a pallet Adirondack chair, you’ll need a circular saw for most cutting tasks, a drill/driver for making pilot holes and driving screws, and a sander—preferably an orbital sander—for finishing surfaces. Other necessities include a measuring tape and a pencil for accurate marking. Always wear safety glasses to protect your eyes from flying debris and a dust mask when sanding. Sturdy work gloves are also essential to avoid splinters.
Hardware and Fasteners
Stainless steel or galvanized screws and bolts are ideal for any outdoor project, as they resist corrosion and hold up well in the elements. Standard sizes vary, but you’ll likely need a combination of 2″-3″ deck screws, washers, and bolts for main connections, with shorter screws for attaching thinner slats and details.
Additional Materials for Finishing
Sanding blocks or various grits of sandpaper will help you achieve a splinter-free finish—coarse for shaping, medium for smoothing, and fine for final touches. A wood stain or outdoor sealant not only enhances appearance but also extends the chair’s life by protecting it from moisture. It’s good practice to have some basic first aid supplies handy, just in case—removing stray nails or accidentally scraping your hands is not uncommon during pallet deconstruction.
Preparing Your Pallet Wood
Processing your pallets is one of the most important steps—well-prepared wood will make your build more successful and enjoyable.
Disassembling Pallets Safely
Start by carefully prying apart the pallet slats. Wedge a pry bar between the slats and stringers, working gradually along each board. Gentle, even pressure minimizes splitting. Use a hammer to loosen stubborn nails. For tenaciously stuck boards or nails, a reciprocating saw can be helpful to cut through the fasteners. Take it slow and keep safety in mind at every step, as pallet wood can splinter unpredictably.

Cleaning and Inspecting the Wood
Once you have the boards separated, scrub each one with warm, soapy water to clear off any dirt, grease, or residue. This is especially important if the pallets were previously used for non-food-safe storage. Rinse thoroughly and let the boards dry completely before further work. While cleaning, look for embedded nails, cracks, or damaged areas and weed out boards that aren’t up to the task.
Initial Sanding and Preparation
Start with coarse-grit sandpaper to smooth out rough areas and knock down splinters. Pay special attention to board edges and ends, as they tend to be the roughest. When the boards are smooth enough to handle safely, sort them by length and thickness. Longer, thicker boards are best reserved for structural components like legs and supports, while thinner boards can be used for slats or decorative elements.
Cutting Your Pallet Boards to Size
Once your boards are clean and prepped, it’s time to cut them to the dimensions required for an Adirondack chair.
Understanding the Adirondack Chair Dimensions
Traditional Adirondack chairs use a low-slung seat and fanned backrest. For a single chair, you might need boards cut into:
- Seat slats (typically around 20–22″ long)
- Back slats (28–32″)
- Armrests (25–30″ long and 3–5″ wide)
- Front and back legs (length determined by design)
- Structural supports such as stringers and braces
Adjust the dimensions slightly if your pallet boards are narrower or shorter, but always ensure the chair is stable.
Creating a Cut List
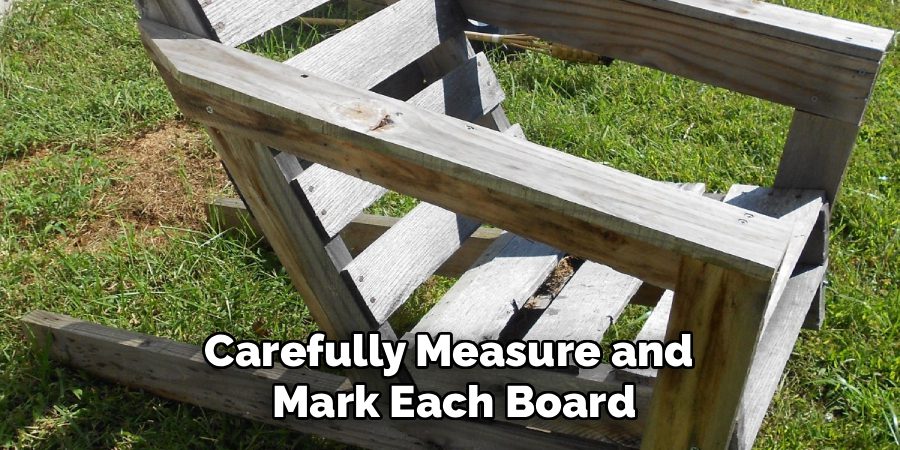
Carefully measure and mark each board before cutting, double-checking your measurements for accuracy. Arrange similar pieces together before cutting in batches; this will help ensure uniformity and simplify assembly later.

Safe Cutting Techniques
Make straight, clean cuts using a circular saw with a sharp blade. Support both ends of longer boards to prevent the wood from pinching the blade or splintering as it’s cut. When working with pallet wood, keep an eye out for hidden nails or staples—these can damage saw blades or become dangerous projectiles.
How to Make an Adirondack Chair Out of Pallets: Assembly Process
With your parts ready, let’s move on to the main construction. This is where the chair takes shape, and you’ll begin to see your project come together.
Building the Seat Frame
Begin by assembling the seat frame. Arrange two strong boards in parallel to serve as side rails, then attach crosspieces at the appropriate locations to form a rectangle. Place seat slats evenly across the frame and secure them using screws driven into pre-drilled pilot holes. Balance is important, so check for square angles and sturdy connections as you work. Temporary bracing can help keep things aligned if working solo.
Constructing the Backrest
The backrest gives an Adirondack chair its distinctive look. Use a template or carefully mark your slats to create a gentle curve. Cut the top of each backrest slat accordingly. Attach these slats vertically to a pair of horizontal supports, spacing them evenly and ensuring consistent height and curvature. The angle between the seat and back? Typically, 15–20 degrees works well for comfort—dry-fit the pieces to find the most inviting position.
Attaching the Armrests
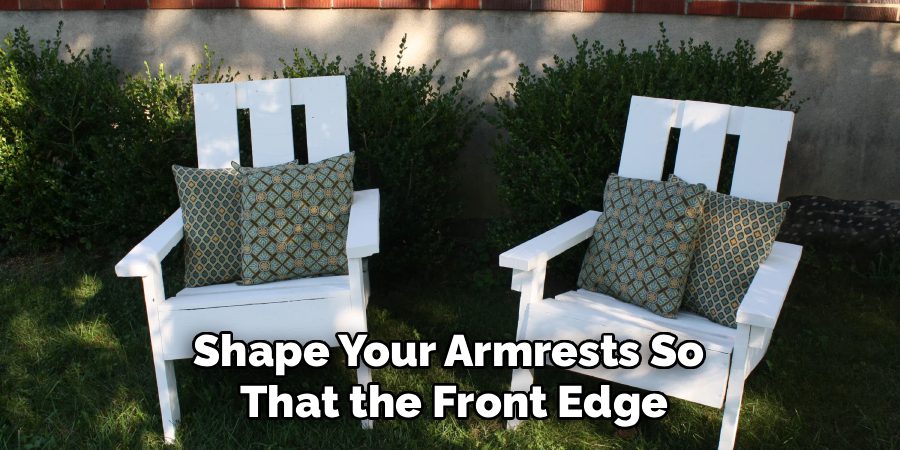
Shape your armrests so that the front edge is rounded and comfortable to the touch. Position the armrests so they are level and securely attached to both the top of the side frame and the upper backrest support. Secure them with screws or bolts, making sure they are steady enough to bear weight when someone pushes up out of the chair.

Joining All Components Together
With major subassemblies complete, it’s time to bring everything together.
Connecting Seat to Backrest
Join the backrest and seat frame at the determined angle, checking for stability and alignment. Support braces or blocks underneath the joint are critical for preventing flex and ensuring that your chair is comfortable and secure.
Installing the Legs and Support Structure
Next, attach the front and rear legs. The front legs are typically vertical, while the rear legs extend back and up, forming part of the frame for the seat and back. Secure all connection points with screws and reinforce any joints that bear weight with cross-bracing as necessary.
Final Assembly Checks
Go over each screw, bolt, and brace for tightness. Gently rock and press on different parts of the chair to check for wobbling or weak spots. Making these adjustments before finishing will pay dividends in comfort, durability, and safety.
Sanding for a Smooth Finish
A smooth finish transforms the chair from a rough DIY into a polished piece of furniture.
Progressive Sanding Technique
Start with a medium-grit sandpaper for the entire chair, working your way through the surfaces to erase any remaining splinters or rough areas. Move to finer grits for seat and armrest surfaces, as these areas will contact skin the most.
Preparing for the Finish Application
Give special attention to curved parts and corners, working by hand if necessary to preserve shape while smoothing the wood. Once you’re satisfied that all surfaces are smooth, wipe down the entire chair with a tack cloth or damp rag to remove dust and debris. Run your hands over every part—if you feel a rough spot, go back and sand it out.

Finishing Your Pallet Adirondack Chair
Choosing and applying the right finish is crucial for outdoor longevity and aesthetic appeal.
Choosing the Right Finish
You have several options: clear outdoor sealers protect without altering the wood’s natural color, stains can bring out grain and character, while exterior paints offer the broadest palette and provide a layer of weatherproofing. Pallet wood can show variation in color and texture, so test your finish on a scrap piece first.
Application Techniques
Apply your finish with a brush or rag, following the grain and working in thin, even coats. Let each coat dry fully before adding another, following the manufacturer’s instructions for drying times. Multiple coats may be needed, especially on end grain, to create a moisture barrier that endures the elements.
Maintenance and Care
Even well-made outdoor furniture benefits from periodic attention to maintain its good looks and durability.
Seasonal Maintenance
At the start and end of each outdoor season, give your chair a gentle cleaning with warm, soapy water and a soft brush. Inspect for any loose screws or signs of weathering. Reapply a protective clear coat or stain as needed, focusing on high-wear areas like the seat and armrests.
Storage Considerations
During wet or cold seasons, storing your chair under cover or indoors will significantly prolong its life. If covered storage is not possible, consider using a breathable outdoor furniture cover to minimize exposure to rain, snow, and UV rays.
Conclusion
By following these detailed steps, you’ll experience the pride and satisfaction that comes with crafting your own functional outdoor furniture from salvaged materials. Not only does learning how to make an Adirondack chair out of pallets reduce waste and save you money, but it also provides an accessible entry point for woodworkers of all experience levels. This process delivers more than just a seat for your yard or porch—it’s a rewarding journey from raw lumber to finished product, all while supporting sustainability efforts. Now that you understand how to make an Adirondack chair out of pallets, you’re equipped to create comfortable, eco-friendly seating that will serve your space for years and inspire further DIY adventures.
About
Team Woodlix is a distinguished figure in the world of Diy design, with a decade of expertise creating innovative and sustainable Diy solutions. His professional focus lies in merging traditional craftsmanship with modern manufacturing techniques, fostering designs that are both practical and environmentally conscious. As the author of diy, Woodlix delves into the art and science of furniture-making, inspiring artisans and industry professionals alike.
Education RMIT University
(Melbourne, Australia) Associate Degree in Design (Team Woodlix) Focus on sustainable design, industry-driven projects, and practical craftsmanship. Gained hands-on experience with traditional and digital manufacturing tools, such as CAD and CNC software.
Nottingham Trent University
(United Kingdom) Bachelor’s in diyfastly.com and Product Design (Honors) Specialized in product design with a focus on blending creativity with production techniques. Participated in industry projects, working with companies like John Lewis and Vitsoe to gain real-world insights.
Publications and Impact
In diy, Team Woodlix his insights on indoor design processes, materials, and strategies for efficient production. His writing bridges the gap between artisan knowledge and modern industry needs, making it a must-read for both budding designers and seasoned professionals.
