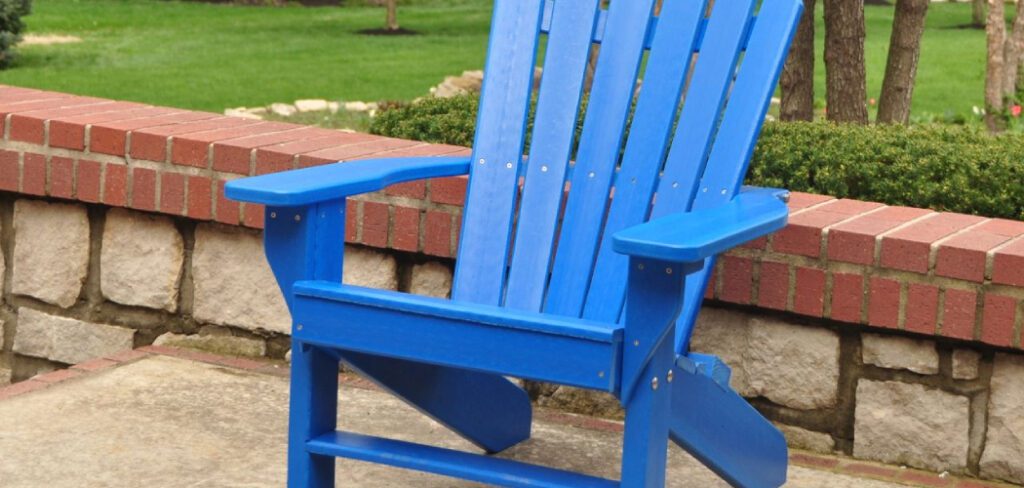
Adirondack chairs are cherished additions to outdoor spaces, admired for their sturdy build and timeless design. Yet, few outdoor furniture pieces are as susceptible to the effects of sun, rain, and fluctuating temperatures. Over time, exposure to the elements inevitably takes its toll—wooden slats lose their sheen, stains fade unevenly, and sometimes cracks or mildew mar the surface. Rather than parting with these classic seats, you can breathe new life into them by tackling a fairly straightforward but satisfying project: refinishing. This comprehensive guide will walk you through exactly how to refinish Adirondack chairs. With a bit of time and focused effort, you’ll rediscover their original beauty and protect them for many more years of leisurely afternoons outdoors.

Assessing Your Chair’s Condition
Identifying Types of Damage
Before starting your refinishing project, take time to carefully examine each Adirondack chair. Look for signs of weathering such as faded wood, water stains, spots of mildew, or small hairline cracks. Run your hand over each surface to feel for rough patches, splinters, or any areas that might feel soft—a possible indicator of rot. It’s important to distinguish between purely cosmetic issues like surface discoloration or peeling varnish and more substantial problems such as deep cracks, loose joints, or wood that feels compromised by moisture.
Determining if Refinishing Is Worth the Effort
Not all chairs can be saved with refinishing alone. If you find deep rot or major structural issues like severely loose joints or broken slats, repairs or even partial replacements may be necessary before the refinishing process. High-quality, solid wood chairs with minor cracking, surface blemishes, or faded finishes are usually excellent candidates for restoration. Surfaces with extensive cosmetic wear can often be returned to near-new condition with some focused attention and effort.
Understanding Your Chair’s Current Finish
Check whether the finish on your chair is a layer of paint, a stain that sinks into the wood, or a natural oil. Lightly scratch a hidden section with your fingernail—if it chips away, it is likely paint; if the color is part of the wood but not a solid coating, it’s probably stain. Oiled wood tends to feel more natural and may show light discoloration rather than peeling. Knowing this will help inform your approach: removing paint often means more work with chemical strippers, while getting rid of old stain or oil usually relies on sanding.

Gathering Your Tools and Materials
Essential Tools for the Project
Arm yourself with the right tools for the job. An orbital sander makes it easier to tackle broad, flat areas, while a detail sander or sanding sponge helps smooth out curves and tight spots. A sturdy scraper comes in handy for old lacquer or paint buildup, particularly in corners or grooves. Use an array of sandpaper, typically from 60- or 80-grit (for rough sanding) up to 220-grit (for a smooth finish). Brushes, tack cloths, and clean rags will be needed at various stages. Choose tools that are comfortable for you to use, and take time to set up for maximum efficiency.
Selecting the Right Stripping and Finishing Products
Choose your stripping method depending on the type of old finish you’re dealing with. Water-based or soy-based stripping agents are less caustic and easier on the environment, while traditional chemical strippers can handle particularly stubborn paint or layered finishes. For refinishing, outdoor-specific wood stains and clear, weather-resistant sealers are essential. If you prefer to paint, look for exterior formulas intended for wood furniture to ensure durability. Choose finish colors and sheens that match your style and longevity needs.
Safety Equipment and Workspace Preparation
Working with dust and strong chemicals can be hazardous without proper protection. Always wear a dust mask or respirator when sanding, and gloves plus eye protection when working with cleaners or chemical strippers. Choose an outdoor location or a well-ventilated indoor space, and put down tarps or drop cloths to catch dust and drips. Have a broom or shop vacuum on hand for cleaning up as you go, which prevents mess and helps your finish go on more smoothly.

Preparing the Chair for Refinishing
Thorough Cleaning Process
Begin by giving your chair a thorough cleaning. Use warm water and mild soap or a quality wood cleaner to remove years of grit, pollen, mildew, and other residue. A soft-bristle brush can help with stubborn spots. Rinse the chair well and dry with a towel, then leave it in a breezy, shaded spot until it’s completely dry. Sanding or stripping a damp chair can lead to clogs and gumminess, making the process much less effective.
Removing Hardware and Loose Components
Take off any screws, bolts, or hardware, and remove detachable components, labeling or storing them carefully for reassembly. If anything must stay on the chair, protect it with painters’ tape. Careful disassembly gives you better access for refinishing and makes it easier to reach every area evenly.
Setting Up Your Work Area
Position your chair and all components so you can easily access every surface. Use padded sawhorses to raise the chair to a comfortable working height and stabilize loose or curved parts before starting. Keep your workspace organized and dust-free for the best results.
How to Refinish Adirondack Chairs: Stripping the Old Finish
Choosing Between Sanding and Chemical Stripping
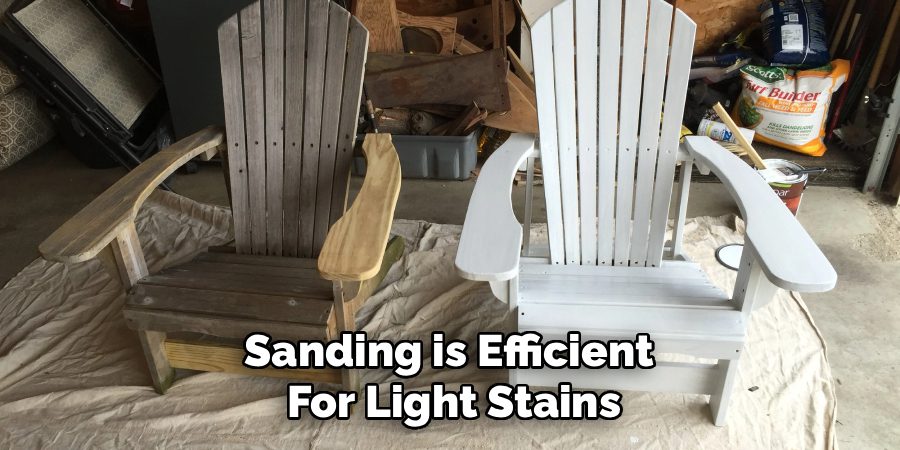
Decide between sanding, stripping, or a combination of both. Sanding is efficient for light stains or sealants, but thick, flaking paint is best handled by a chemical stripper. Always work according to the manufacturer’s instructions, especially when dealing with harsh chemicals, and prioritize your safety.

Proper Sanding Techniques
Begin with coarse sandpaper to remove the bulk of the old finish, moving with the grain of the wood. For slats, curves, and detail work, switch to hand sanding or use sanding sponges or blocks. Gradually move to finer sandpaper as the wood gets smoother, and never skip the final fine-grit pass; it makes a big difference to the texture and appearance of the result.
Using Chemical Strippers Safely
Apply chemical strippers in a ventilated area. Brush on with a thick, even coat, let the product work until the old finish is soft or bubbling, and remove it gently using a scraper or steel wool. Be careful not to gouge the underlying wood. After stripping, wash the chair with a neutralizing cleaner or mineral spirits as recommended by the product instructions, then allow it to dry thoroughly.
Repairing Wood Damage
Filling Cracks and Holes
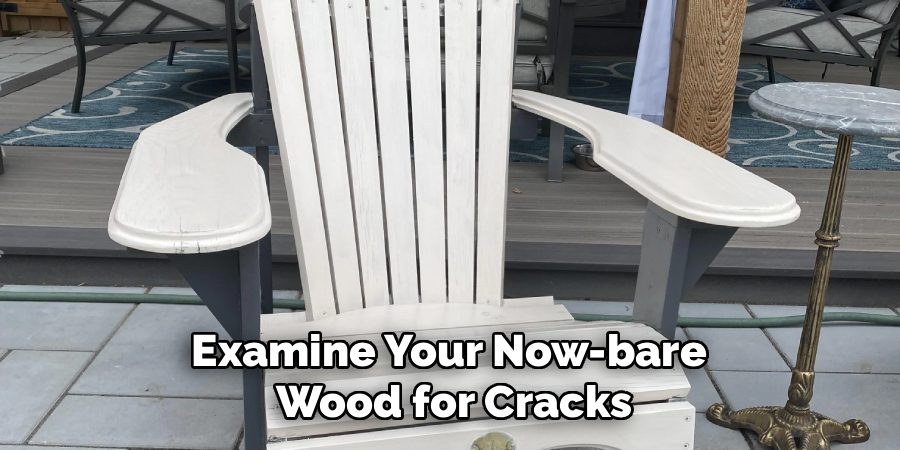
Examine your now-bare wood for cracks, nail holes, or pitting. Fill minor imperfections with a wood filler matched to the chair’s finish, smoothing it with a putty knife. Let the filler dry fully, then sand flush so it blends in with the surrounding wood. Done correctly, these repairs all but disappear under your new finish.

Addressing Loose Joints and Structural Issues
Check all joints, braces, and slats for looseness. Tighten fasteners, replace damaged screws or bolts as needed, and reinforce any areas that seem weak. If more extensive repairs are out of your comfort zone, consult a professional to ensure your chair is safe and sturdy for use.
Sanding for a Smooth Foundation
Progressive Grit Sequence
Refine all wood surfaces using medium, then fine sandpaper. Sand along the grain, taking care not to round off any sharp design details. Examine your work with your hand and eye—smoothness not only improves the look, but helps new stain or paint go on evenly.
Hand Sanding Detail Work
Machine sanders don’t reach every area, so finish the process by hand for curved legs, arms, and between slats. Steady, even movements work best. When everything feels perfectly smooth, use a damp cloth or tack cloth to remove dust before proceeding.
Applying Wood Conditioner and Primer
When Wood Conditioner Is Necessary
On softwood chairs, pre-treat the sanded wood with a wood conditioner. This helps avoid blotchy, uneven staining. Wipe on with a brush or rag, let it absorb, and remove excess before the next step.
Primer Application for Paint Finishes
If painting, prime each surface fully before color application. This seals the wood, prevents stains from bleeding through, and improves paint adhesion. Wait for primer to dry completely, sanding lightly if needed before applying paint.

Choosing and Applying the New Finish
Stain Selection and Application
Pick an exterior stain that complements your outdoor decor. Brush or wipe it on in even strokes, working on one small section at a time. Let it soak in as the instructions specify, then remove any excess with a clean cloth. Apply a second coat if you’d like a richer color, letting the stain dry completely between coats.
Clear Sealant Application
Follow up with a durable exterior sealant—such as spar urethane, marine varnish, or specialized deck sealers—using a clean brush. Thin, even coats are best, with light sanding between layers to achieve a glassy smooth finish. Don’t rush this step; multiple coats give the best weather protection and enhance the look of your refinished chair.
Paint Finish Options
If you’re painting, two or three thin, even coats of exterior-grade paint provide bold color and protection. For tricky areas or ornate chair parts, a spray finish offers an even coat—just mask off surfaces you don’t want painted and spray in calm, dry weather.
Drying and Curing Considerations
Understanding Drying vs. Curing Times
Freshly finished chairs might feel dry to the touch in hours, but full curing (which provides maximum resistance to scratches and weather) can take days or a week. Protect drying chairs from dust, rain, pets, and direct sun. Be patient—haste now can ruin hours of careful work.
Protecting During the Curing Process
Shelter your refinished chairs until they’re fully cured. A screened-in porch, garage, or improvised cover helps prevent dust or leaves from landing on tacky surfaces. Avoid sitting or stacking items on the chairs until you’ve passed the product’s listed cure time.
Reassembly and Final Details
Reinstalling Hardware and Components
After curing, reattach all screws, bolts, or hardware, ensuring each is tight but not over-torqued. Reattach cushions or detachable elements, making sure nothing rubs harshly against the fresh finish.
Final Inspection and Touch-ups
Look carefully for missed spots or subtle flaws. Retouch small areas as needed with stain, sealant, or paint. Now is the time to fix small mistakes; a little extra care adds years to your finish.
Maintenance for Longevity
Establishing a Care Routine
Well-finished chairs last for years with seasonal upkeep. Clean regularly, spot-repair scratches, and add a new sealer coat every couple of years or when you notice signs of wear. Quick cleanups and prompt attention to minor damage will keep your hard work looking great year after year.
Conclusion
By following this comprehensive guide, you now know how to refinish Adirondack chairs—from initial evaluation to applying that last protective coat. With patience and effort, you’ll bring new life to these iconic outdoor seats while saving money and reducing waste. Most importantly, your restored chairs will be ready for many more seasons of relaxation and family memories, proof of both their timeless design and your hands-on craftsmanship.
About
Team Woodlix is a distinguished figure in the world of Diy design, with a decade of expertise creating innovative and sustainable Diy solutions. His professional focus lies in merging traditional craftsmanship with modern manufacturing techniques, fostering designs that are both practical and environmentally conscious. As the author of diy, Woodlix delves into the art and science of furniture-making, inspiring artisans and industry professionals alike.
Education RMIT University
(Melbourne, Australia) Associate Degree in Design (Team Woodlix) Focus on sustainable design, industry-driven projects, and practical craftsmanship. Gained hands-on experience with traditional and digital manufacturing tools, such as CAD and CNC software.
Nottingham Trent University
(United Kingdom) Bachelor’s in diyfastly.com and Product Design (Honors) Specialized in product design with a focus on blending creativity with production techniques. Participated in industry projects, working with companies like John Lewis and Vitsoe to gain real-world insights.
Publications and Impact
In diy, Team Woodlix his insights on indoor design processes, materials, and strategies for efficient production. His writing bridges the gap between artisan knowledge and modern industry needs, making it a must-read for both budding designers and seasoned professionals.
